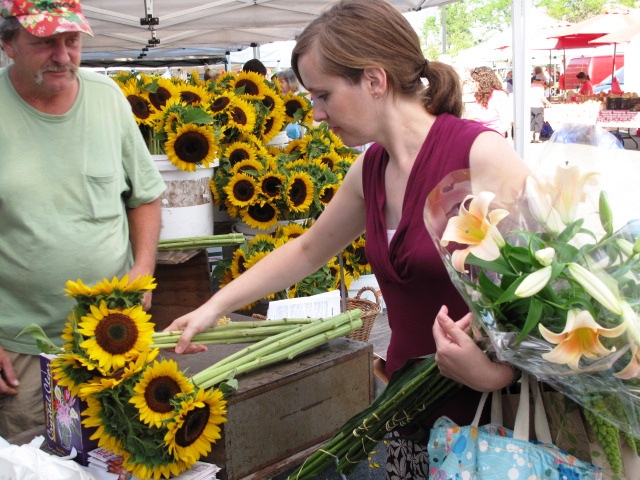
2 Workshops + 1 Saturday = Flower Filled Day
When: May 3, 2014
Where: The 95 Yesler Collective Studio, 3rd floor (Seattle)
Who: Debra Prinzing & Alicia Schwede
Workshop #1 – 10:00-12:00
Seasonal Flowers with Debra Prinzing
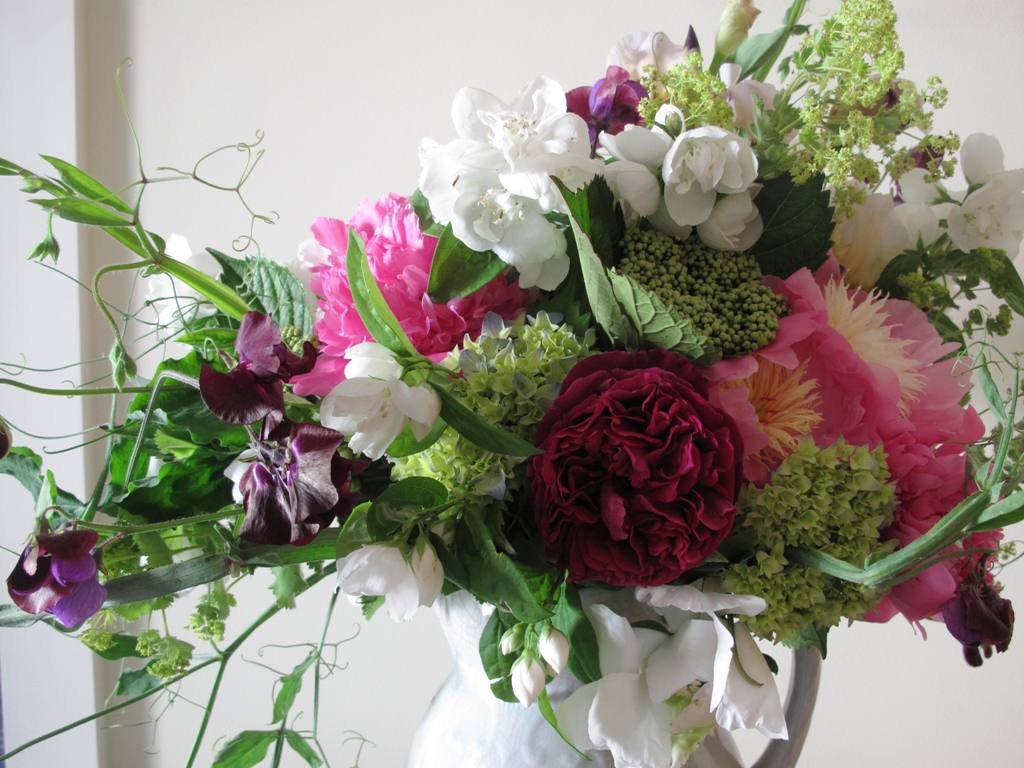
Every single element in this vintage white pitcher is from my Seattle garden. Happy Spring!
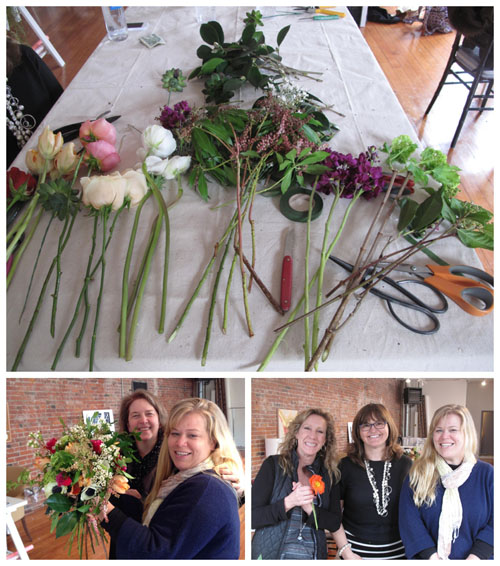
What: A seasonal, hands-on floral design workshop for gardeners, DIY designers and flower lovers alike.
When: 10-12
Who: Debra Prinzing, Slow Flowers advocate and author of The 50 Mile Bouquet and Slow Flowers. Debra is an award-winning writer, editor and speaker. She has spoken and/or led hands-on floral design workshops at major botanical gardens and for leading garden clubs including the Dallas Arboretum, Denver Botanic Garden, Chicago Botanic Garden, Los Angeles Arboretum, Pasadena Garden Club, Seattle Garden Club, the Garden Club of Santa Barbara, and more. She was the 2014 Floral Curator for the San Francisco Flower & Garden Show. Learn more about Debra at www.debraprinzing.com.
Seasonal Flowers introduces students to of-the-moment flowers for growing and arranging as each reflects her/his personal style and creative muse. Taught in a 2-hour session, the workshop is formatted as follows:
- Introduction of seasonal flowers, foliage and other botanicals
- Discussion of growing methods and popular cultivars
- Discussion of harvesting/post-harvesting treatments
- Principles of color and elements of design that relate to specific floral ingredients
- Eco-friendly design techniques and care tips
You’ll take home a custom floral arrangement or bouquet for your home, along with a resource handout.
A la carte Price: $95 per student; or take advantage of the bring-a-friend price of $175 for two
Supply fee per student/per class: $15 (includes vase, tools and floral design supplies)
Lunch Break – 12-1pm, lunch on your own.
Workshop #2 – 1:00-4:00
The Bridal Bouquet & Pricing Workshop with Alicia Schwede
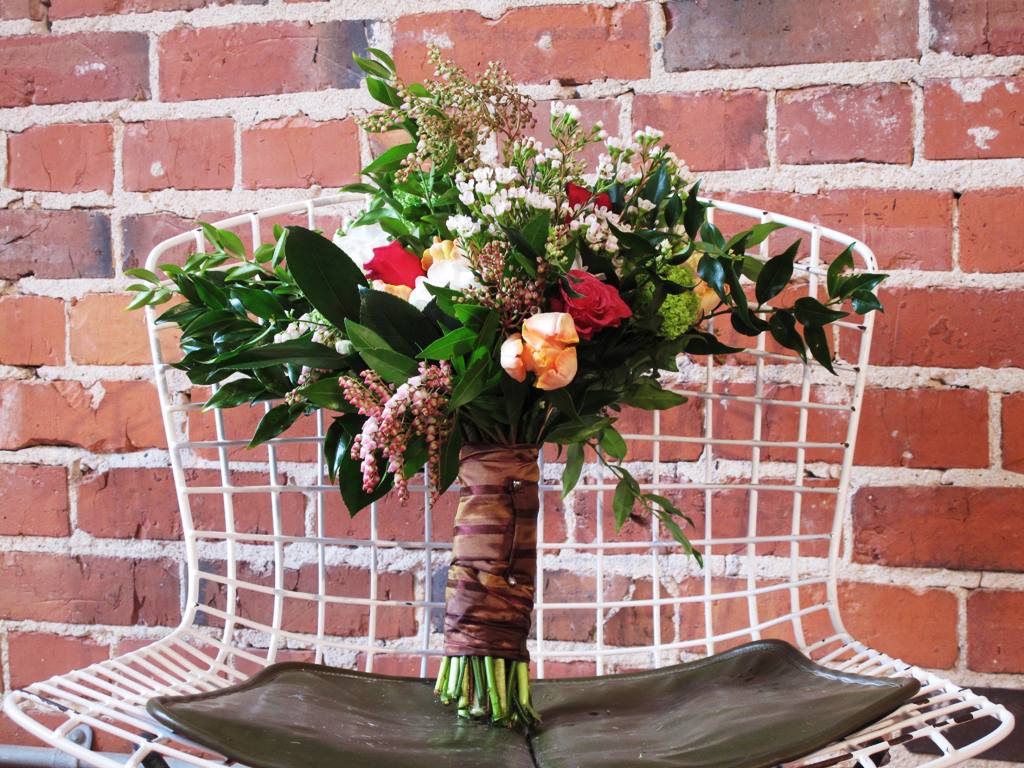
Demystify the design and pricing of a Wedding Bouquet with Alicia Schwede.
What: A hands-on floral design workshop with a discussion and learning session about pricing designs.
When: 1:00-4:00pm
Who: Alicia Schwede, owner of Bella Fiori & editor of the Flirty Fleurs Floral Designer Blog. Alicia is the author of Bella Bouquets Book, which will be available for purchase at the workshop.
The Bridal Bouquet & Pricing Workshop is a hands-on workshop where you will learn how to design luscious hand-tied bouquets. After we design a beautiful bridal bouquet we will have a discussion and learning session about pricing our designs. All instruction and fresh flowers are included, please bring your own tools.
Investment: $195.00
……………………………………………………………………………………..
Please note: You may choose to take one or both of the workshops. Either way, the workshops must be paid for separately.
Register for Alicia’s Workshop
Questions? Send Alicia an Email
Or send Debra an Email
……………………………………………………………………………………..