Debra Prinzing

Get the Email Newsletter!

Archive for the ‘General’ Category

SLOW FLOWERS: Week 31

Monday, August 5th, 2013

PASSION FOR PEONIES

Close to perfection

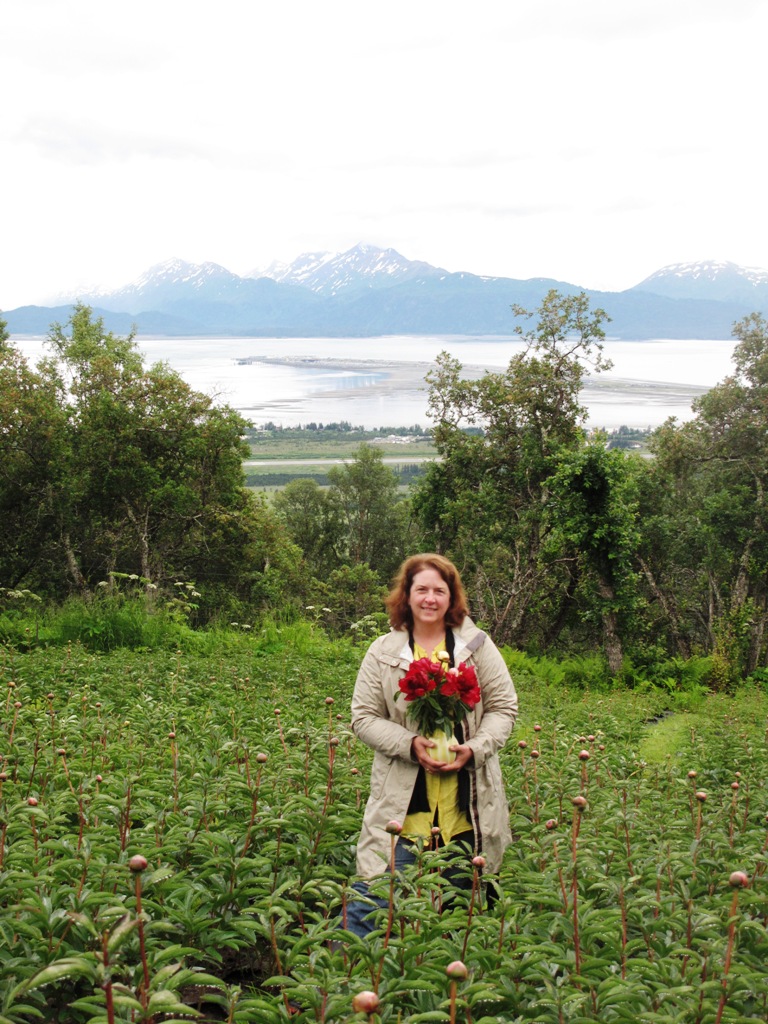
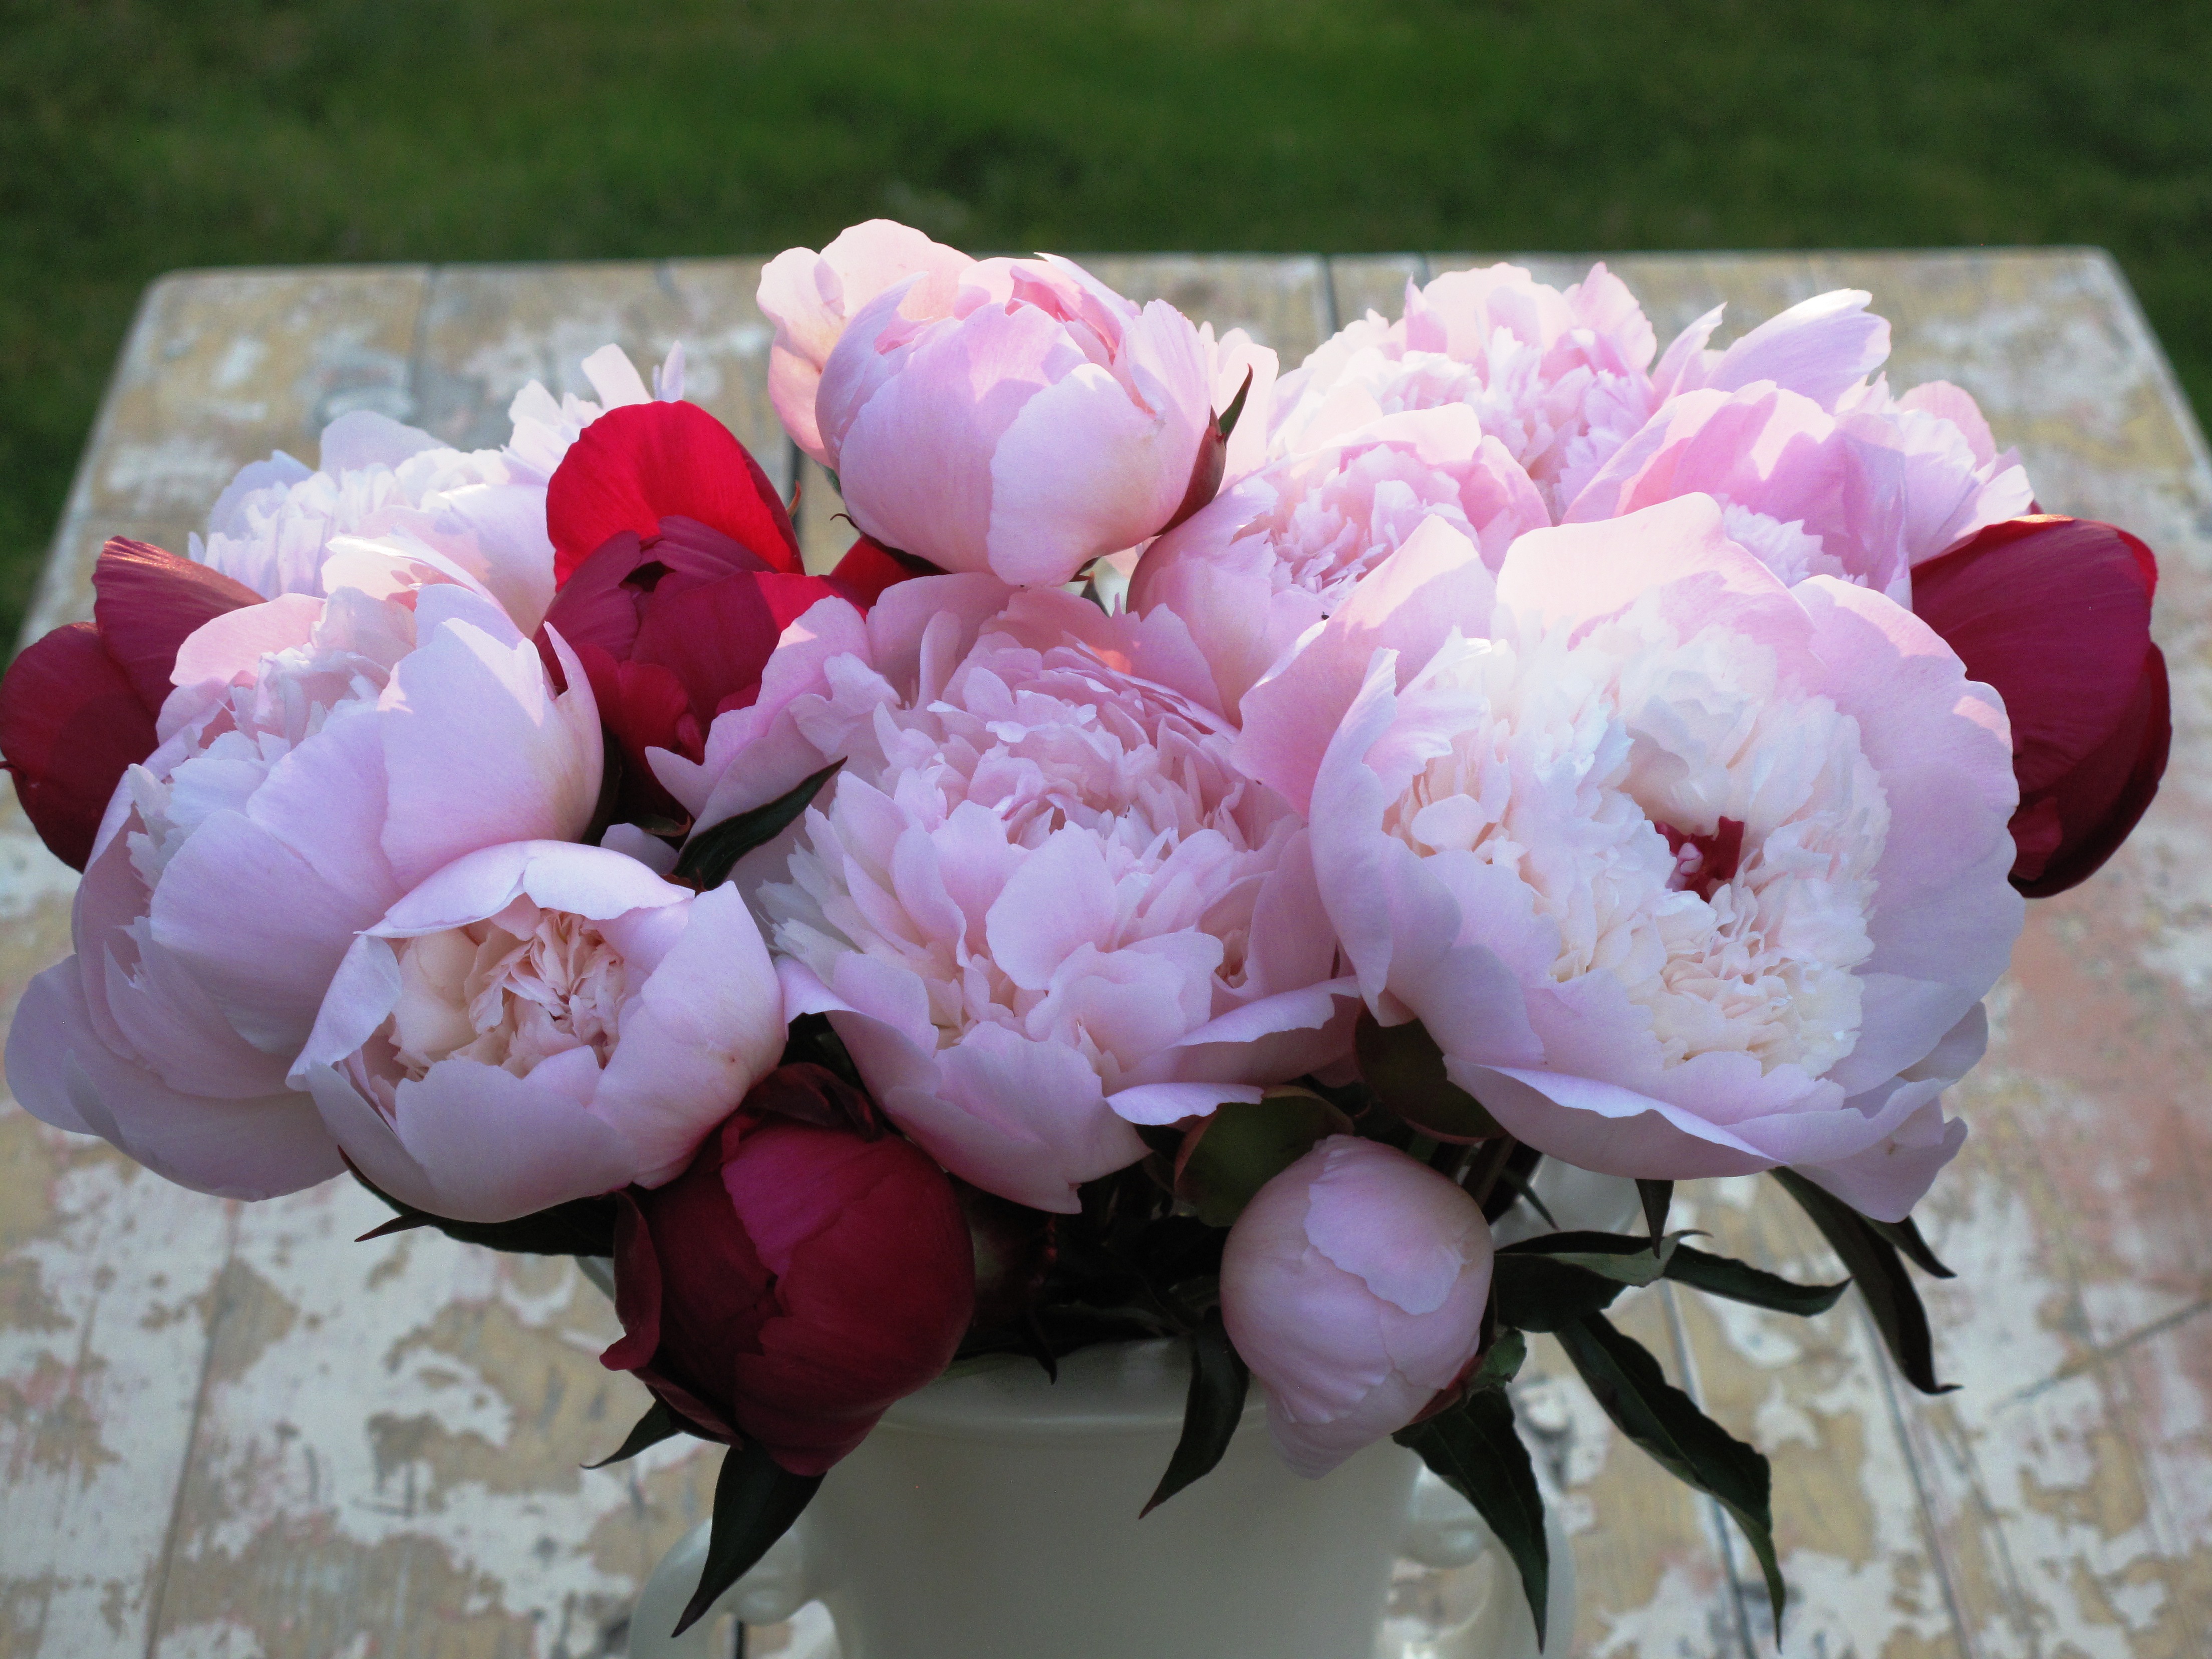
I came home from Alaska with these luscious peonies – and it seemed as if no other flower could compete for room in the vase.

Ingredients:
10 stems ‘Sorbet’ peonies, grown by Echo Lake Peonies in Soldotna, Alaska
5 stems ‘Kansas’ peonies, grown by Midnight Sun Peonies in Soldotna, Alaska
 
Vase:
9-inch tall x 7-inch diameter vintage Haegar urn, cream pottery
or
Series of vintage one-pint glass milk bottles (7-inch tall), each holding two or three stems
 
milkbottles_peoniesFrom the Farmer
Peony harvesting and design: Cut peonies during the coolest part of the day. According to Dr. Holloway, “Cut once you see the true color of the flower with one or two petals separating at the top – or any time after that. Then, the flower will continue to open in your arrangement.” If you cut prior to this stage the buds either will not open or they will be stunted. Fully-opened blooms can also be harvested, but their vase life is shorter. Based on years of peony research and field trials, Dr. Holloway offers this commercial growers’ tip: “Once cut, your flowers should be chilled in the refrigerator for at least 24 hours and up to one week before putting them into a vase. That chilling very definitely extends vase life.” Wrap the peonies in paper towels and lay them flat in the crisper drawer, away from the refrigerator’s other contents until use.


SLOW FLOWERS: Week 30

Sunday, July 28th, 2013

FLIGHTS OF FANCY

Stacie Bouquet

A summer bouquet for my friend Stacie Crooks’s annual garden girlfriend soiree.


Stacie Bouquet 2

This charming arrangement is even more interesting when viewed from the top as the gooseneck stems appear to be flying in all directions!

Ingredients:

7 stems Dahlia ‘Coral Gypsy’, grown by Jello Mold Farm

15 stems white love-in-a-mist (Nigella damascena), grown by J. Foss Garden Flowers

5 stems chartreuse Hypericum perforatum (a florist’s variety selected for its colorful fruit), grown by Jello Mold Farm

7 stems goldenrod (Solidago sp.), grown by J. Foss Garden Flowers

11 stems white gooseneck loosestrife (Lysimachia clethroides), grown by Jello Mold Farm

20 stems burnet foliage (Sanguisorba obtusa), grown by Charles Little & Co.

Vase:

6-inch tall x 4-inch diameter glass vase 

Eco-technique

Transporting bouquets: Save your arrangement and your car with a smart stabilizing trick I learned from flower farmers who make frequent bouquet deliveries. Use a box that is at least half the height of your vase; seal the

top and bottom so you have an empty “cube.” Using a utility knife, cut a large X on one side of the box. The cuts should be approximately the same size as the vase diameter. Push the bottom of the vase into the X-opening. The

triangular cardboard flaps created by the cuts should bend inward to hold the vase securely while you drive.

Meet Village Green, a Neighborhood Nursery for Plant Lovers

Tuesday, July 23rd, 2013
Just look for the hand-painted lavender sign when you're driving down 26th Avenue Southwest in Seattle. There's plenty of places to park on the street . . . and then you'll wander down the long drive to the nursery.

Just look for the hand-painted lavender sign when you’re driving down 26th Avenue Southwest in Seattle. There’s plenty of places to park on the street . . . and then you’ll wander down the long drive to the nursery.

Earlier this spring, I had the delightful experience of giving a floral-design workshop at Village Green Perennial Nursery in West Seattle’s White Center neighborhood. This place is like a secret garden, although there are many, many customers who have been in on the secret for years. This is a plant-centric business, one neighbor to the next. 

Village Green Perennial Nursery was founded by Teresa Romedo over 30 years ago. In 2003, she passed the torch to Vera Johnson, who has owned and operated the nursery ever since. 

Vera Johnson, plantswoman, horticulturist, designer, educator and artist, presides at the helm of this magical destination. Her mission is to inspire the neighborhoods of White Center and West Seattle by providing the very best resources available to create sustainable outdoor living spaces, one block at a time. As a little garden center with big ambitions, Village Green is known for high-quality customer service and healthy plants. It has evolved as a community center that showcases local artists, musicians, and events. 

Vera has just announced her first farm-to-table event, scheduled for August 31st. This has the potential to be an unforgettable moment in time, an experience that celebrates food, wine, plants and flowers. Tickets are $100 per person. Order yours here.

FarmtoTableVillageGreen


Take a virtual tour of the beauty at Village Green Perennial Nursery – and save the date for a fabulous event! I hope to see you there!

READ MORE…

SLOW FLOWERS: Week 29

Sunday, July 21st, 2013

STUNNING SUCCULENTS

Rose Succulent

The rose-shaped echeveria pairs beautifully with the garden rose.

Ingredients for arrangement above:
  • Several rosettes from Echeveria plants, with wire “stems.” I took these cuttings from my friend Cristi Walden’s Southern California garden and brought them home to Seattle in my suitcase; they lasted the entire summer in a number of arrangements.
  • 7 stems of rose-red, multipetal garden roses, variety unknown, harvested from my Seattle garden
 
Vase:
6½-inch tall x 4½-inch diameter glass jar with 3½-inch opening
 
Succulents Dahlias

A beautiful green Aeonium rosette and cactus-style summer dahlias

From the Farmer

Succulent success: Robin Stockwell, owner of Succulent Gardens Nursery in Castroville, California, says it’s easy to remove rosettes with a clean, sharp florist’s knife or clippers. After several days, the succulents will likely be the only part of your bouquet that still looks attractive. They can be re-used in your next arrangement. Or, remove the wire and set the cuttings in a bright window where they’ll soon produce roots. That’s when you can replant your succulent in a pot or in the garden.


Footed glass, circa 1978

Sunday, July 14th, 2013
Side view of vases

It’s easy to find these not-quite-vintage and not quite-retro, but definitely collectible footed glass vases. I snagged the frosted pink one on eBay for $4.99 and found the green embossed one at my local Goodwill store for even less!

These vases have been identified as FTD florist vases, dated to 1978. The pattern is called “oak leaf” and I’ve found the two colors shown above as well as an amber-gold and milk-glass white, all with the raised embossed leaf pattern.

2 Vases

Getting ready by choosing flower frogs to fit inside the two vases.

The first time I used this charming green footed bowl in a demonstration, someone guessed it was Depression glass. There is that pressed-glass quality to these containers, but they’re newer. I like to think FTD was producing them in the U.S.A. and shipping them to mom-and-pop flower shops around the country at a time when those florists were still using predominantly American-grown flowers. The vases are so much more interesting and well made than most of the (probably) made-in-China stuff you see coming out of floral wire services these days. Keep your eyes out at the thrift store or surf on eBay, where I’ve found at least six or seven listings for idential and similar vessels.

I’ve written before about how much I love footed anything for floral arranging. Here is a recent post where I wax eloquently about footed vessels. Today, it was time to play with some flowers and see what I could create. By the way, here are the dimensions on these bowls: overall height, 5-1/2 inches; diameter, 5-1/4 inches; depth of bowl, 2-1/2 inches.

The shallow bowl does require some kind of device to stabilize stems. Back in the day, those 1978 florists were probably blithely cutting up chunks of foam to stick inside. But today we all know how unsafe it is to handle or use florist’s foam for its toxic attributes (formaldehyde being the active ingredient). So out came the metal frogs, as you can see in my bouquets below. Alternately, I could have shaped a section of chicken wire to fit inside, securing it with floral tape. Both methods are quite easy and eco!

Here is my first of two arrangements, using the green vase: 

Green Vase and Frog

Step One: Insert maroon dahlias into metal frog. Notice how I’ve cut the stems short so that the flower head snugs close to the rim of the vase. 


Magenta and Fuchsia

Step Two: After seven dahlias are arranged evenly throughout the opening, I added five lush fuchsia cockscomb celosias inbetween the darker flowers. 


Adding Alliums

Step Three: Insert four drumstick alliums for graphic punctuation. 


Adding Queen Anne's Lace

Step Four: Add Queen Anne’s Lace stems so they hover above the darker base of flowers. 


Green Final

Step Five: Finish off the bouquet with a few stems of gooseneck loosestrife (Lysimachia clethroides), a quirky accent that repeats the white from the QA Lace and brings a new texture into the design.

Here how I filled the pale pink frosted vase: 

Pink Vase Starting Off

Getting started. If you compare this photo with the one at the top of this post you’ll see that I switched the frog. The original pin frog I planned on using wasn’t allowing me to insert stems at an angle or sideways, so I replaced it with a metal cage-style frog. 


Pink Final

This bouquet came together in much the same way as the first one, so I didn’t photograph all the steps in detail. Notice that I started with a cluster of unopened hydrangea heads, which created a “base” that supports the three ‘Cafe au Lait’ dahlias, making them more prominent. Other ingredients include Queen Anne’s Lace, Scabiosa buds, and the gooseneck loosetrife. Even though similar ingredients are repeated from the first bouquet, this color palette gives it a totally different look and feel. 


Pink Detail

A final grace note, showcasing the delicate beauty of the dahlia and Queen Anne’s Lace.


SLOW FLOWERS: Week 28

Sunday, July 14th, 2013

Heavenly Hydrangeas

White hydrangeas

A simple bouquet of hydrangeas – one of my favorites in this book

simple detail

The details are quite sweet!

Ingredients:

10 stems mop-head hydrangeas (Hydrangea macrophylla), grown by Oregon Coastal Flowers
8 stems Geranium ‘Rozanne’, harvested from my garden
6 stems pincushion flower (Scabiosa sp.) in bud, grown by Choice Bulb Farms
Vase:
11-inch tall x 10-inch diameter ceramic glazed vase (the opening is 5 inches)
 
From the Farmer
Give your hydrangeas a refreshing drink: Summer-harvested hydrangeas are considered to be shorter-lived than ones cut in autumn, giving them a reputation for not lasting long in a vase. You can revive wilting hydrangea
flowers, though. Five days after I made this bouquet, I took the entire arrangement apart, re-cut each hydrangea stem and submerged them in a cool, soaking bath in the kitchen sink for about 15 minutes. With the excess water shaken off, they were refreshed and re-hydrated, guaranteed to last a few more days in the vase.
 
Still Life with Zanny and Hydrangeas

A favorite out-take from Slow Flowers: Our dog Zanny decided to pose with the flowers.


New summer articles by Debra

Saturday, July 13th, 2013

It was fun to visit the newsstand yesterday and pick up three new magazines with my articles.

When you see them in one place, it might feel like I’ve been super productive. But there is a back-story about each, and I have to be honest with you. Sometimes it takes YEARS for a story to see the light of day.

Case in point: The Southern California garden owned by Cheryl Bode and Robin Colman, featured in the July-August issue of Horticulture, was photographed in 2009. Since then, it has often seemed to Cheryl, Robin and me that the story would never appear in print. When I finally saw the issue, just out on newsstands, I understood why. The photos are incredibly disappointing. I have so many wonderful photos of their garden and the magical feeling one experiences when visiting there was simply not expressed in the Horticulture magazine. Click over to my articles page to read the story and see my photos rather than the ones printed below. Theirs is an inspiring story of two homeowners who yearned to bring an old house back to life, along with its garden. To physically walk through it is truly special.

Cheryl_Robinp6Cheryl_Robinp2Cheryl_Robinp1Cheryl_Robinp3Cheryl_Robinp4Cheryl_Robinp5


READ MORE…

A field-to-vase celebration

Wednesday, July 10th, 2013
Menu

Welcome to the Slow Flowers Dinner

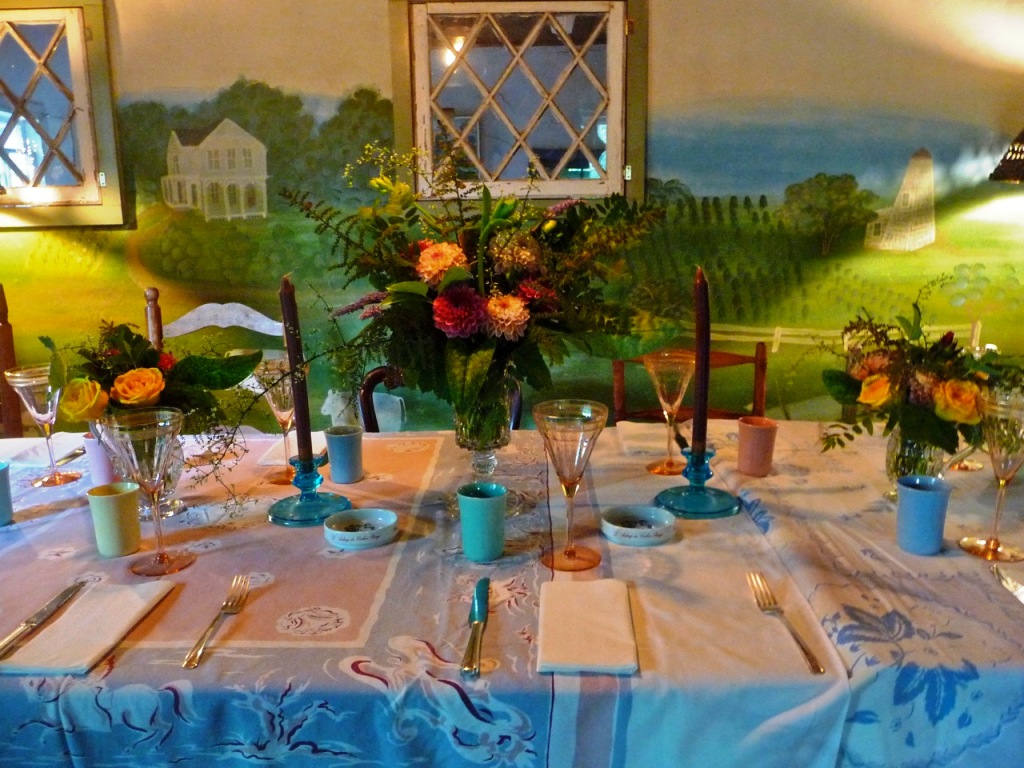
Imagine a table set for 40 . . . inside a flower-filled greenhouse. Vintage vases overflowing with just-picked blooms adorn the table and a locally-grown menu is is served.

Imagine a table set for 40 . . . inside a flower-filled greenhouse. Vintage vases overflowing with just-picked blooms adorn the table and a locally-grown menu is served.

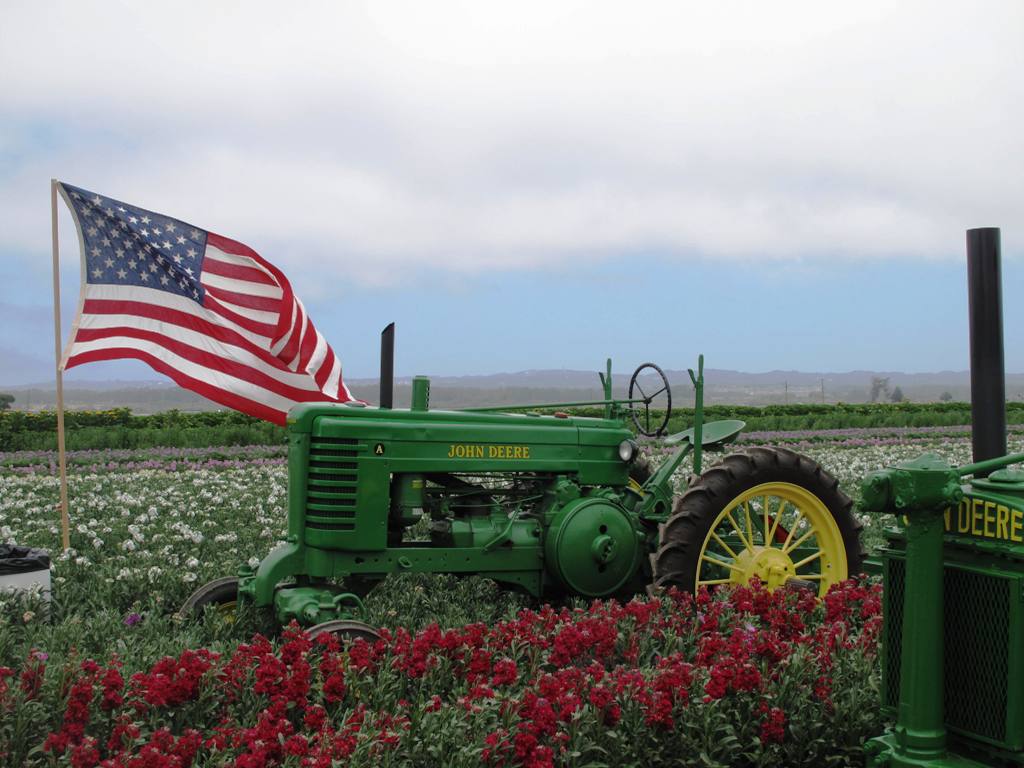
Last month I joined with the California Cut Flower Commission to host a “Slow Flowers” dinner as part of the 2013 Monterey Bay Greenhouse Growers Open House & Tour.

table setting

The table was set for local food and local flowers.

We called it “Farm-to-Table; Field-to-Vase” and held the dinner in the gerbera-filled greenhouse at Kitayama Bros. Farms in Watsonville, California. The event was a gathering of like-minded persons. Each of us — farmer, florist, media, community advocate — cares deeply about the role of American  flowers in the greater agricultural environment. And everyone in attendance contributed an important voice around the table, a table with locally-grown food and locally-harvested flowers.

READ MORE…
New Floral Video & Photography Set

Tuesday, July 9th, 2013

I’m very excited to show off the backdrop that I recently created for DIY floral video projects.

If you look closely, you’ll see some of my favorite things gathered on the garage workbench. Vintage ceramic vases and metal urns, French flower buckets, frogs of all types, Mason jars, botanical artwork, salvaged goodies and more.

Flower Set

A floral designer’s work bench – and perfect video set.

Here’s another view – with the weathered picnic table in front – the ideal surface for bouquet-making.

Flower Set 2

Another view, featuring the weathered picnic table in the foreground.

How on earth am I pulling this off? Making a video, I mean!

I am fortunate to have a young filmmaker here for the day. Her name is Hannah Holtgeerts and she is a college friend of my son Ben’s. Hannah jumped into this project with total enthusiasm. A talented photographer, videographer and documentary filmmaker, she really makes things look effortless. Aaah, YOUTH, CHARM AND TALENT~ Too bad that Hannah is heading back to Chicago where a post-college job awaits her this fall. But for now, I’m thanking my lucky stars. The video will be pulled together soon and I promise to share it here~

Hannah Holtgeerts

Hannah Holtgeerts – at work editing the video we shot this morning.

Hannah

Looking over Hannah’s shoulder. What a pro!


SLOW FLOWERS: Week 27

Sunday, July 7th, 2013

AMERICAN ROSES

American roses

There are three sultry-smoky elements to this simple bouquet: roses, smoke bush foliage and a type of Queen Anne’s lace.

detail

When all three colors, forms and textures are seen together – up close – it’s simply beautiful!

Ingredients:

20 stems Rosa ‘Wild Blue Yonder’ roses, grown by Westmont Park Roses
7 stems smoke tree (Cotinus coggygria ‘Royal Purple’), grown by Jello Mold Farm
10 stems Queen Anne’s lace (Daucus carota var. sativus ‘Black Knight’), grown by J. Foss Garden Flowers

Vase:
7-inch tall x 7½-inch diameter McCoy jardiniere, 1940s era, with a raised design of vertical bands and flowers

From the Farmer
When to cut for the vase: Commercial rose growers like Westmont Park Roses have special procedures for harvesting their flowers and processing them with a hydrating solution before making florist deliveries. The home gardener who grows old English roses and David Austin garden roses isn’t faced with these storage and delivery demands. Get the most out of your garden roses by cutting them when temperatures are coolest on the day you plan to arrange them. I like to pick a mix of roses at different stages to create more interest: in bud; slightly open; two-thirds open and fully open. This technique reminds grower John Martin of a single, beautiful grandiflora cluster, “with five or six roses, each at a different blooming cycle.”