Debra Prinzing

Get the Email Newsletter!

Archive for the ‘Plants’ Category

Now you can get LOCAL cut flowers at Nordstrom Rack

Tuesday, March 13th, 2012

Tulips as Fashion at the new Seattle Nordstrom Rack Store

Right after the first of the year, an e-mail arrived in our in-box via The 50 Mile Bouquet blog.

“Hi – I am the Home Buyer for Nordstrom Rack. I am looking for a local floral resource to put together a floral program for our downtown Seattle Rack, which we are relocating to Westlake in March. We want this store to be special! We will have a lobby space where we’d like to sell fresh, local bouquets daily, a la Pike Place Market. Would you be able to meet with me to discuss this?”

The correspondent was Kelly Smith, Nordstrom Rack’s home and gift buyer who later told me that things like the new floral program defaulted to her because she’s a “Jill of all trades” and besides, someone there decided that the woman responsible for buying vases for the Rack is more likely to know about flowers than someone who buys handbags or cosmetics.

I was intrigued and agreed to meet with Kelly and some of her colleagues back in January. To be honest, there was an idea brewing in the back of my mind that I could get a little floral business going and drag one of my creative girlfriends into the adventure.

But Kelly and her team were very ambitious and exact in their vision. It soon became clear to me that while they might need my advice to come up with the right flower calendar, week-by-week, they would need someone with a larger-scale wholesale operation than I would ever have (or want to have, for that matter).

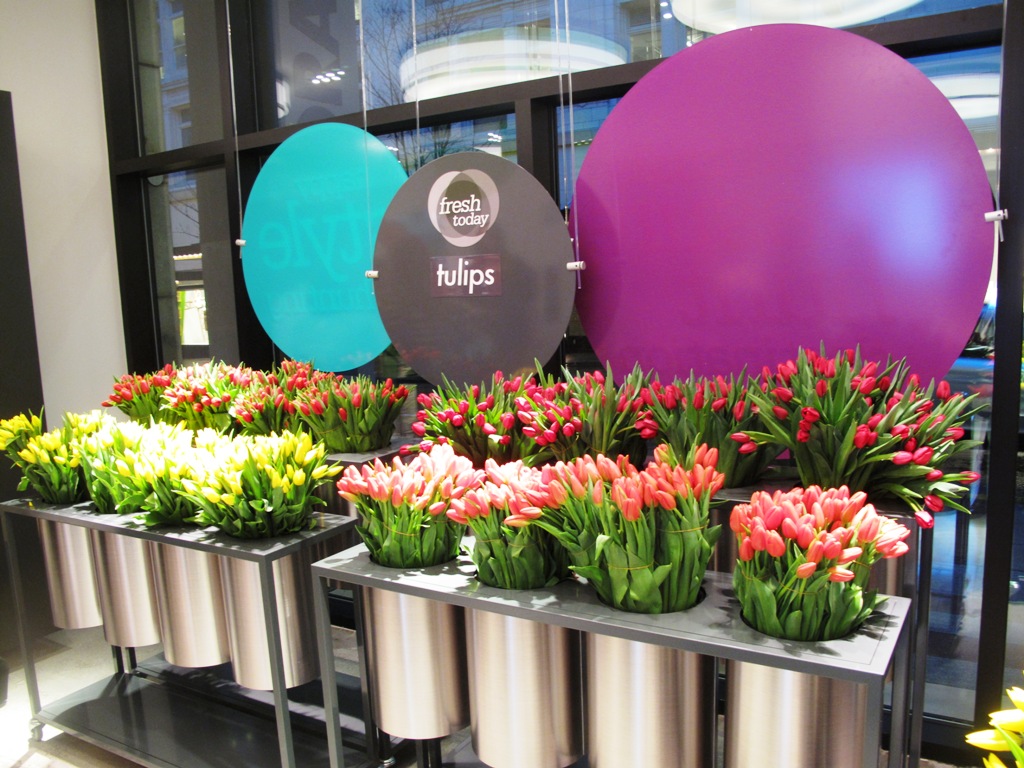
Nordstrom designed its own mod flower buckets with racks on wheels ~ cool!

Eventually, I helped Kelly find a local wholesaler who is now sourcing flowers from local farms, sorting and bunching the stems, and making daily deliveries to the new Nordstrom Rack on the corner of 5th and Pine (in the former Talbot’s location at Westlake Mall). How did Nordstrom come up with this idea of selling locally-grown cut flowers along with designer shoes and bargain-priced fashions for women and men?

“We knew we had this really great lobby space, right off of Westlake, but it’s not a selling space,” Kelly points out. “We started brainstorming about what we could do to create the Pike Place Market feeling near Westlake.” [Locals and tourist alike know that the Rack was located for years at 2nd and Pine, just across the street from the Pike Place Market.] “Selling flowers ties us back to the community and supports the local floral industry.”

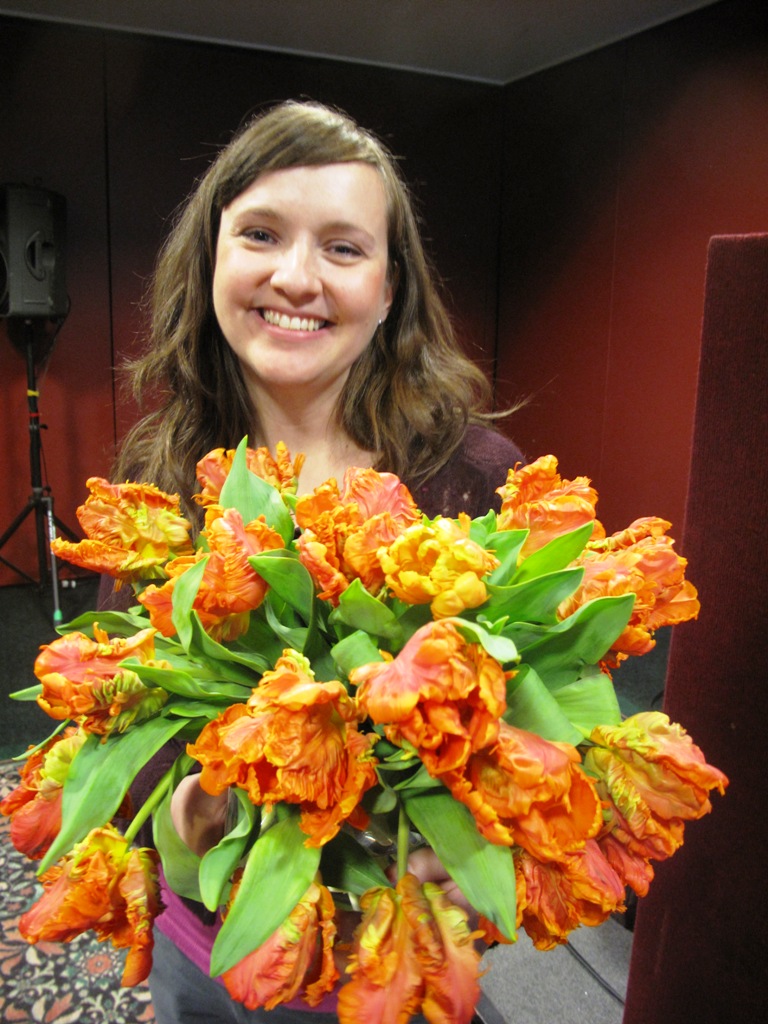
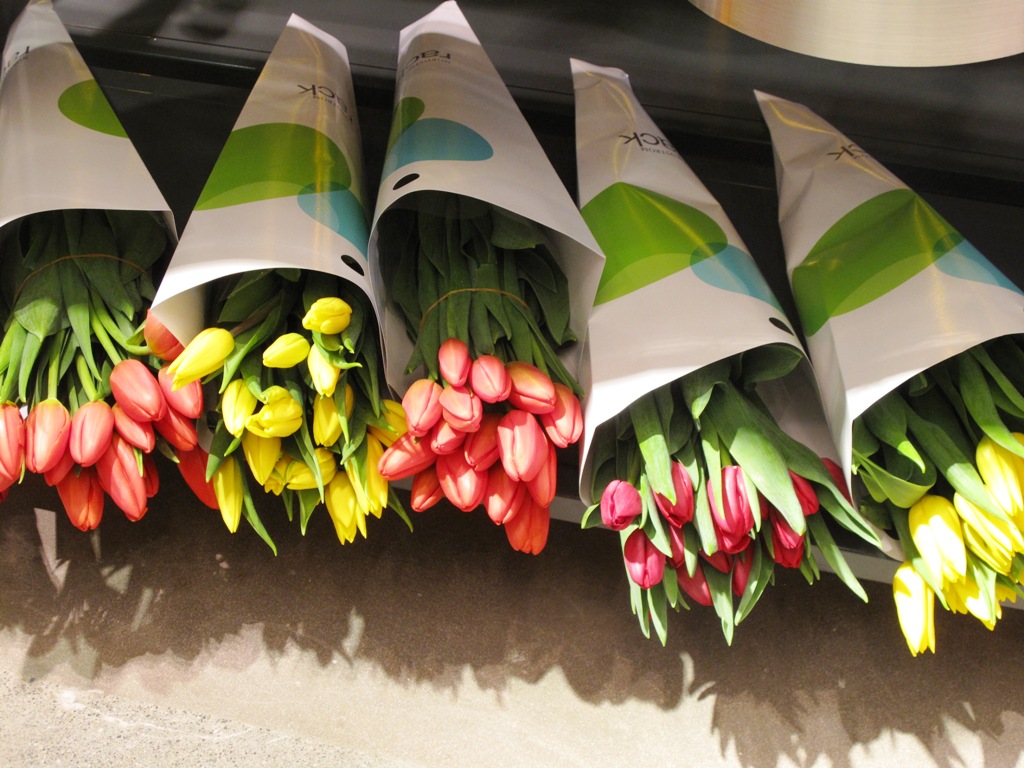
When the Rack opens on Thursday, March 15th, shoppers will be able to buy a bunch of 15 gorgeous local tulips for $10. This week, the palette includes yellow, orange and red tulips. Next week, according to Kelly, the palette will include white, purple, light pink and dark pink. “They are so vibrant and beautiful,” she enthused. In future weeks, you’ll see a wide range of flowers, depending on the seasonal crops being harvested from local fields. Just like the fashion discoveries at the Rack, the floral offerings will be ever-changing.

It will be fascinating to watch how bargain-oriented Rack customers respond to the $10/bunch floral program. The overall vision is to make cash-and-carry cut flowers so accessible that everyone who walks through that lobby will want to grab a bunch on their way out of the store.

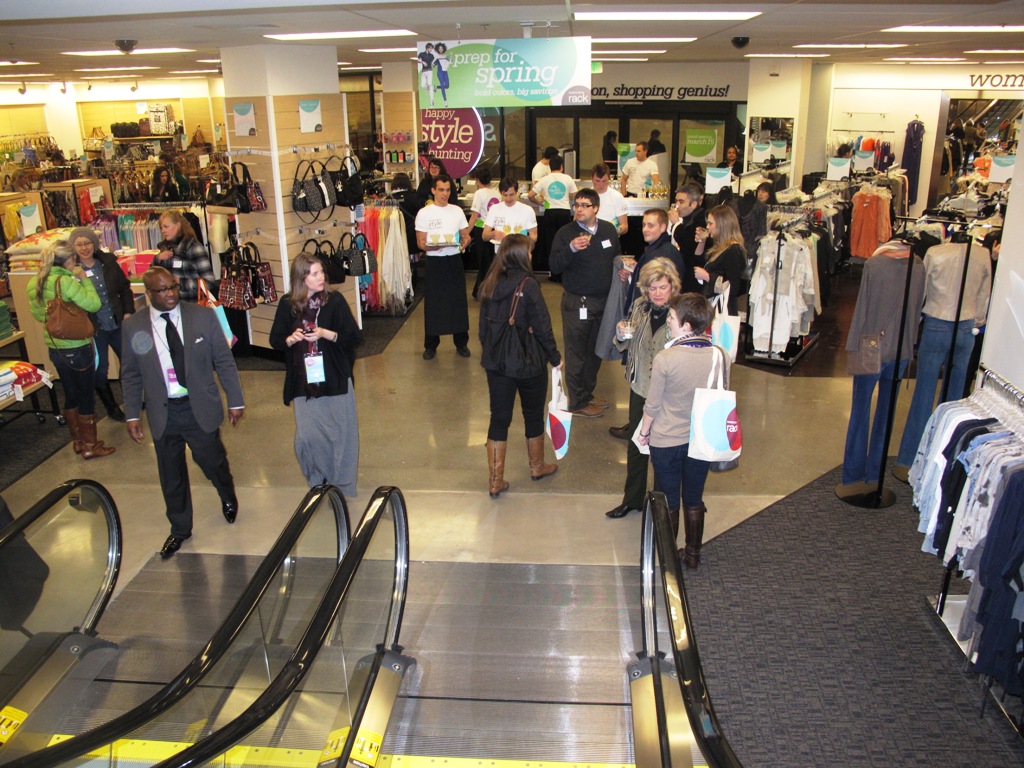
With that plan on my mind, I was thrilled to be invited to tonight’s “Tweet Up” pre-opening gala for (mostly) fashion bloggers. I was probably the only non-fashion blogger or Tweeter in attendance, but don’t worry – I found lots to grab my attention. Enjoy the photos here.

LOCAL Flowers-to-Go at Nordstrom Rack

Purple, Green, and Teal desserts to match the Rack Logo - yum!


Tonight's preview party drew 150 fashion bloggers (and me!)

Style Hunter offering up cocktails at tonight's pre-opening soiree

Flowers also appear on a Dolce and Gabanna silk jacket. Originally $2,945, the new Rack price is $939.97. Tempting. . .


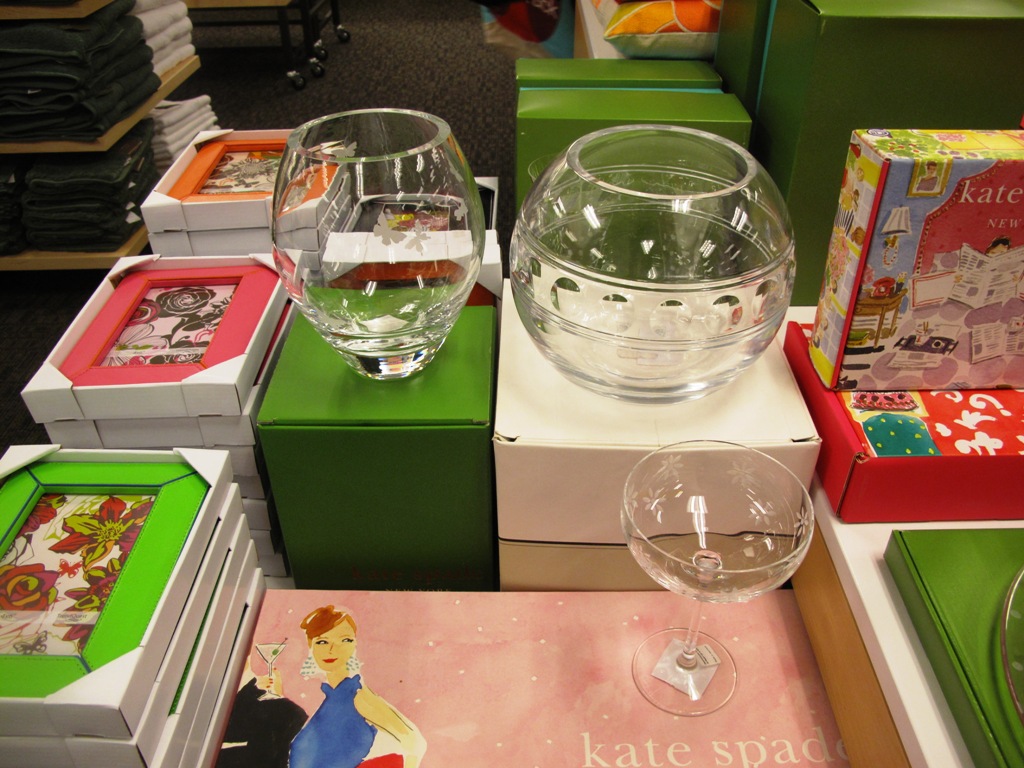
On the left, a $75 cut glass Kate Spade vase, now selling for $59. Thanks, Kelly - a great find and I brought it home with me!

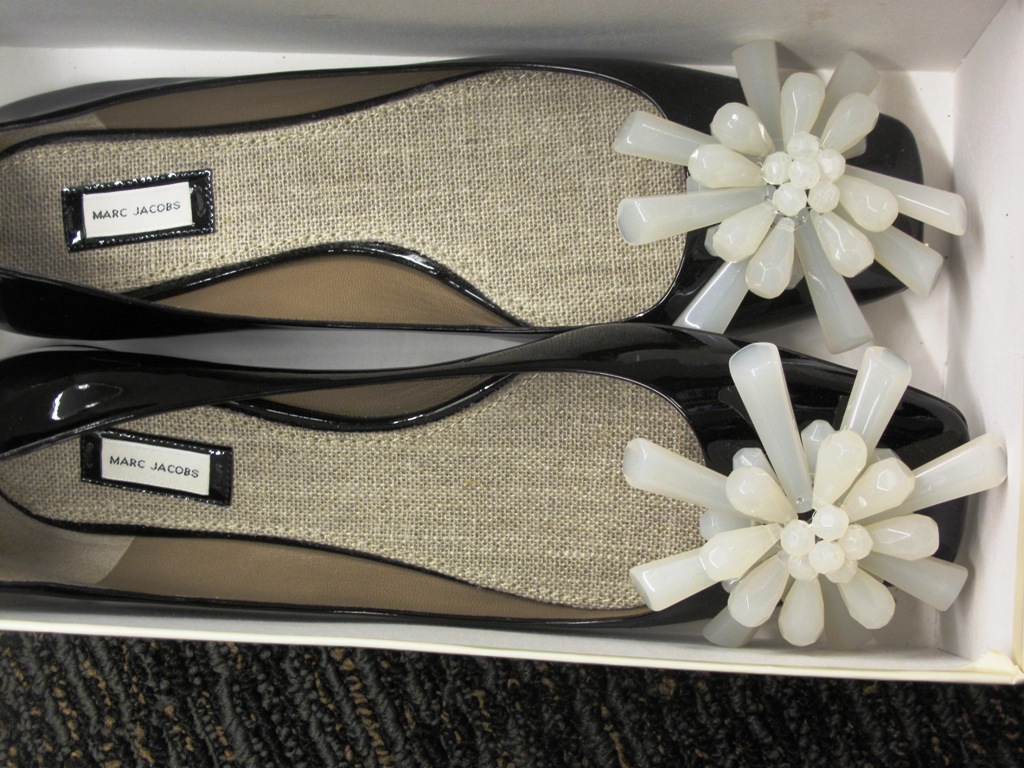
More flowers on the toes of Marc Jacobs' shoes, marked down to $299 from $695. Too bad they were 1/2-sizes too small for moi!

Meet the NEW Sunset Western Garden Book

Wednesday, March 7th, 2012

SUNSET GIVEAWAY

I’ve drawn names of all those who answered my question below and here are the five “winners” of a FREE copy of The New Sunset Western Garden Book, courtesy of Sunset. The question: What is your favorite ornamental landscaping plant (shrub, grass, perennial, etc.) to harvest for a cut bouquet? yielded these winners/answers:

Jen Y: peonies

Paula: bunnytails grass blossoms or pilotus joey

Carol: Peonies, nandina branches and berry clusters

Nicole: hellebores

Kim: dahlias

CONGRATULATIONS! You will soon be hearing from Dana Smith of Sunset Publishing, who needs your mailing address.
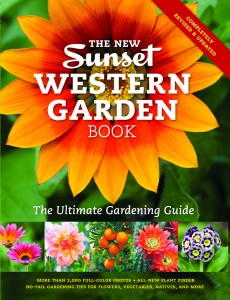
I recently had a chance to interview Kathleen Brenzel, garden editor for Sunset magazine – and editor of Sunset’s new, 2012 edition of The New Sunset Western Garden Book,  (Sunset Books, $34.95 for flexible binding, $44.95 for hardcover), a “bible” for western gardeners.

Whether you’re new to gardening or have logged many planting seasons with your hands in soil, it’s the single best go-to reference for garden-makers in our region. As chunky as the Yellow Pages, this essential guide to the West’s ornamental and edible landscape has been around for 80 years. I’ve owned every version since the early 1990s, including the most recent 2007 edition, which is dog-eared from much use.

When I got my hands on the just-released ninth edition last month, I thought: How different can this really be? I asked Kathy to walk us through the book’s 768 pages:

How did you go about updating this edition? Before we did anything else, we assembled a panel with landscape architects, horticulture educators from UC Berkeley and Cal Poly San Luis Obispo, nursery people and new graduates who had used our last edition as a textbook. The recent grads told us that in order to make “The New Sunset Western Garden Book” relevant, it had to have a digital component. They said: “We go everywhere with our smartphones, so we want to be able to take a photo of a plant we see on the hiking trail and look it up instantly.”

How did you go digital? Now you can take the best of Sunset with you to the garden center, nursery and your yard. You can get the free mobile edition of this book’s Plant Finder on your smartphone. (Search for Sunset Plant Finder.) With it, you can access more than 2,000 plants — and search by plant name, ZIP Code, climate zone, sun and water requirements, and type. There’s a companion online Plant Finder that lets you browse by color, height, spread and special needs.

How else is the book interactive? The last section of “The New Sunset Western Garden Book” is a practical guide. We’ve added a camera icon on the bottom of the pages, pointing you to corresponding videos on our website. It’s nice to read directions on planting a tomato in a pot and then watch a video of one of our editors showing you exactly how to do that.

What are the other major updates? This is the first edition to feature plant photos exclusively, rather than illustrations. There are more than 2,000 plant photos. We also updated the entire plant encyclopedia. That was the biggest job in the whole book. Every plant was reappraised, and we added many new varieties now available in nurseries. We went to growers all over the west and compared our existing plant database with what they are now offering; we asked what they thought we should include and why.
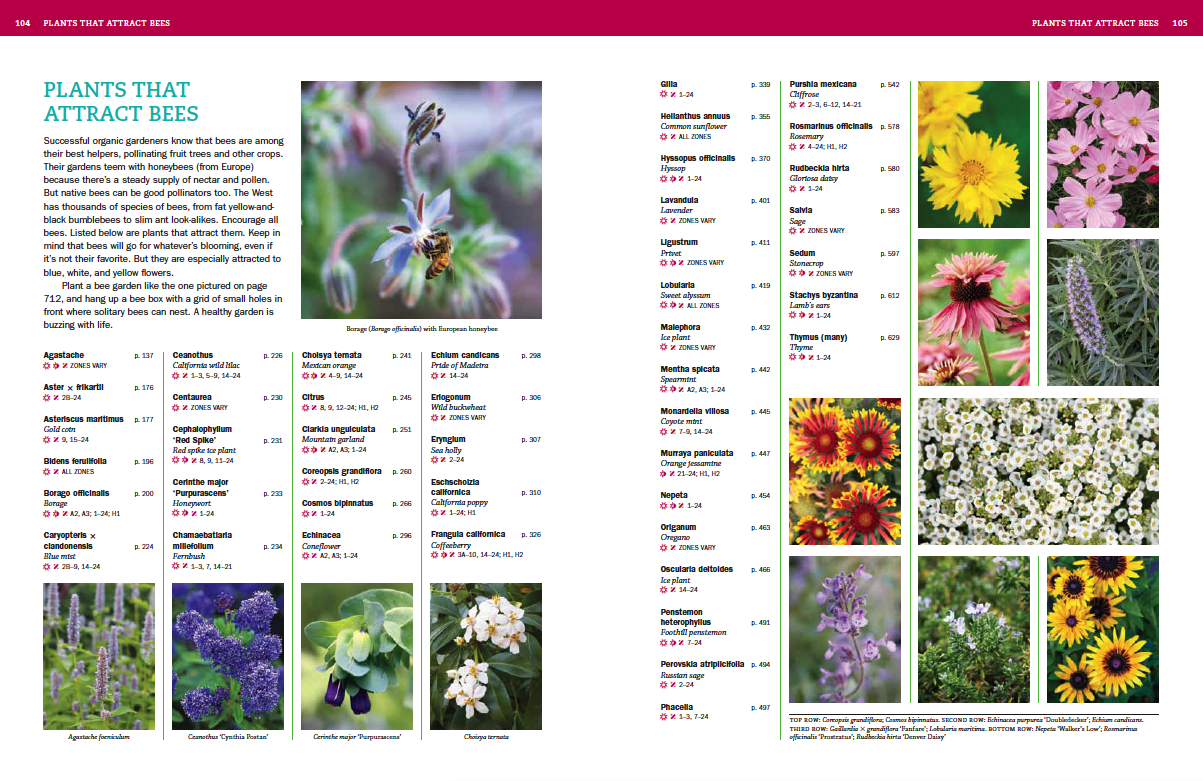
How many new plants did you add? The new book has 9,000 plants, up from 8,000 in the last edition. We also had to check the botany of every plant because botanists are constantly reclassifying plants.

What can new gardeners gain from the book? The section “Gardening Start to Finish” is more instinctive for the beginner. We walk them through the whole growing process from A to Z. We also have practical sections on gardening for wildlife and native plants, growing herbs and water-wise plants.

What can more experienced gardeners gain from the new book? The plant encyclopedia is filled with tip boxes of additional information – like how to propagate a sweet potato vine or when to cut ornamental grasses for the vase.

You have more edibles, don’t you? We asked ourselves: “What do people want most from ‘The New Sunset Western Garden Book’ right now? You’d have to be totally checked out not to notice a huge wave of edible gardening, so we wanted to amp up our coverage. I’m really happy with the “what edibles to plant when” charts for warm-season and cool-season veggies.

What’s your favorite take-away from the book? There’s an underlying theme that acknowledges how we garden now – with an interest in natural gardening and sustainability. Our gardens are smaller, but they’re stylish and sustainable.

Note: A version of this Q&A appeared in the LA Times HOME blog on February 17th.



DIY Bouquets in Dallas

Thursday, March 1st, 2012


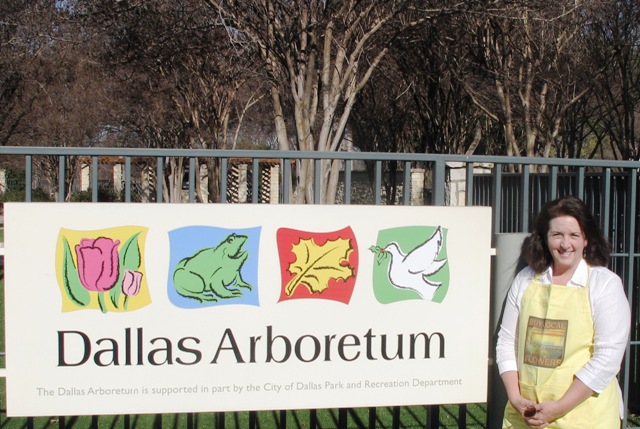
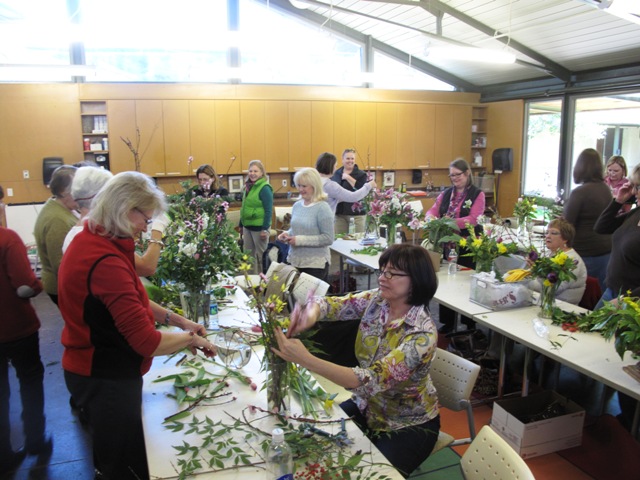
I spent a wonderful day with floral design students at the Dallas Arboretum.

First-time floral designers and experienced arrangers converged at the Dallas Arboretum and Botanical Gardens last Saturday for a few hours of inspiring floral creativity.

In planning the hands-on workshop with education director Joy Ijams, I worried that late February in Dallas could present some challenges. That is, when it came to procuring local and seasonal design ingredients. Fortunately for the 20 folks who participated in our sold-out class, my fears were allayed.

For the success of our event, I have several awesome people to acknowledge. First of all, thanks goes to Joy – the ever-upbeat program planner who invited me to speak about The 50 Mile Bouquet in a morning lecture and then to teach what she called a “make and take” workshop after our lunch break.

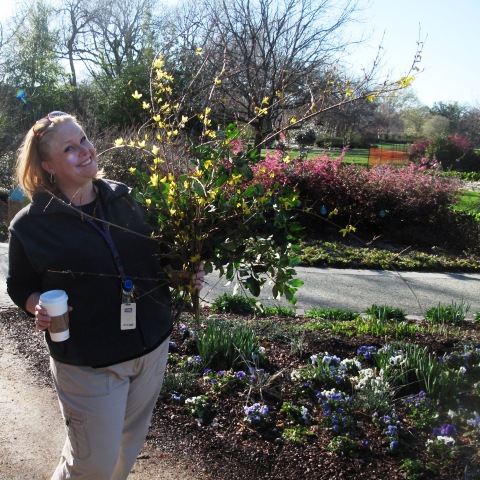
Education director Joy Ijams and I did a little “pruning” the morning of my class…to harvest branches and foliage for our student-designers to use.

It was Joy who creatively conjured up the format and got the word out to the Arboretum audience. It also was Joy who picked me up at the airport on Friday night and took me to Central Market so we could shop the flower department to augment our menu of botanical ingredients with domestic tulips and fragrant stock (she also suggested we undertake some ‘moonlight pruning’ at the Arboretum, but we were both exhausted and decided to wait until the following morning).

Joy, along with her education department colleagues and volunteers, made everything run smoothly. Our students were happy and engaged – and all the AV systems worked to perfection.

The following morning, prior to the arrival of those attending the 10 AM lecture, Joy and I headed out to the Arboretum’s display gardens with Felcos in hand. We were motivated by a concern that we wouldn’t have enough greenery otherwise. Sorry, Jimmy, but we harvested from the fringes of your borders, including clipping from the back sides of Indian hawthorn, just-blooming forsythia, phlomis, and rosemary. Oh, and a few minor branches from a saucer magnolia. 

Texas cut flower grower Cynthia Alexander is not only a great farmer, she’s a talented floral designer!

We were in pretty good shape with our supermarket flowers and the just-cut foliage. That’s because we knew Cynthia Alexander of Quarry Flower Farm was soon to arrive with goodies from her fields and orchards. In anticipation of this class, I had reached out to several of the Dallas area members of the Association of Specialty Cut Flower Growers (ASCFG) and connected with Cynthia, whose farm is located in Celina, Texas. She did not disappoint!

Cynthia agreed to harvest everything she had on hand and bring it to our class. Yes, it’s still early spring on Cynthia’s rather young flower farm, but you’d never know it by the fabulous, overflowing galvanized French flower buckets she delivered.

They contained an awesome mix of spring bulbs (several daffodil varieties); uncommon foliage (cardoons, hoar hound, and other green boughs); and lots of flowering fruit-tree branches. I’m so pleased that Cynthia joined us.

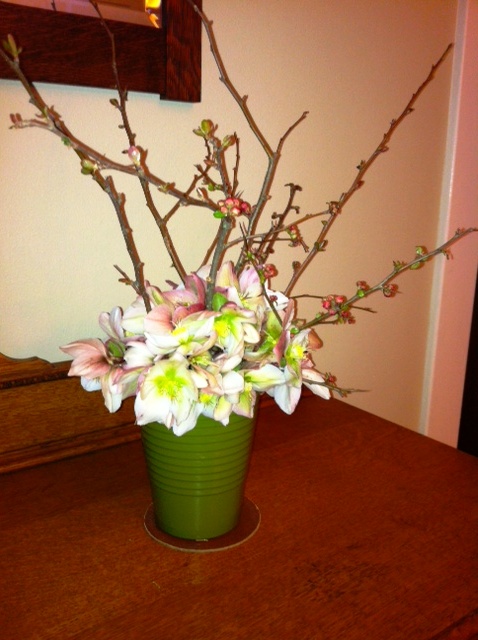
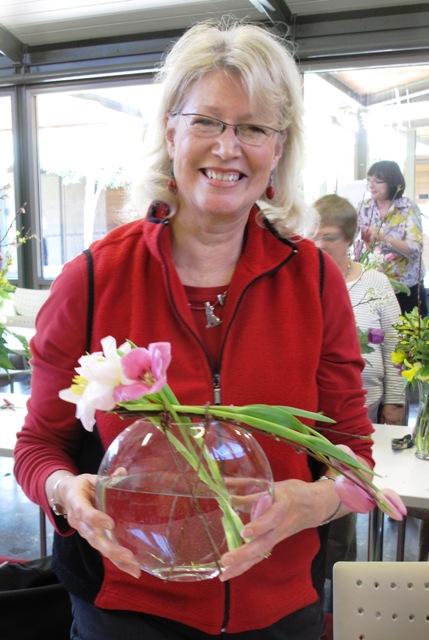
Floral design – en masse – in a classroom filled with passionate and creative women.

It allowed me to introduce her farm to students in both the morning and afternoon class. Plus, she participated in the floral design workshop – and inspired all of us with her avant-garde creation! As soon as Cynthia walked into the classroom, I recognized her; we realized that we must have met or at least spoken with one another at the 2010 Tulsa ASCFG conference. This time, we’ve become more than passing strangers and I can’t wait to return to Dallas to see Cynthia’s farm first-hand.

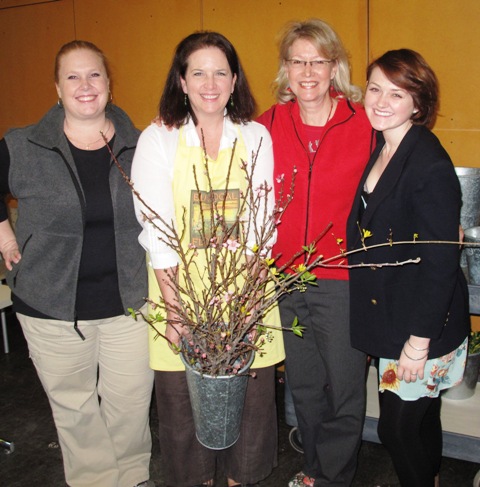
My “dream team:, from left: Joy Ijams of The Dallas Arboretum; Debra Prinzing (me); Cynthia Alexander of Quarry Flower Farm; and Whitney White, new-generation floral designer.

A few other secret ingredients enhanced the Saturday afternoon workshop — more fresh-from-the-garden floral elements and a talented florist (read on to discover to whom I’m referring). First, Joy and I had asked those who wished to do so to bring cuttings from their own gardens – and wow, what a great selection of foliage arrived! Second, I was sent an “angel” in the form of Whitney White, a twenty-something floral designer whose father Jay White is a fellow member of Garden Writers Association and an email pal of mine. Whitney arrived like a dream….Jay encouraged her to attend the morning workshop and as soon as we met I recruited Whitney to help with the afternoon class. It was nice to have her talent and that of a few other pro’s in the class to share tips about composition, line, form and color. I can’t wait to see where her career takes her. Currently, Whitney is working for a hot Dallas design firm called Bows and Arrows. They are very lucky to have her!

Once all our ingredients were assembled, I started out the class by discussing my favorite “green” floral design techniques:

  • Use a recycled or repurposed vase
  • Stabilize stems with organic or re-usable material, such as an armature of branches or twigs, wood aspen (Excelsior), old-fashioned flower frogs, chicken wire and a foliage nest.
  • Strip all foliage from the portion of the stem that will be under water; fresh-cut ever stem and plan on refreshing the water every day or two.

The students exceeded their own expectations with a beautiful lineup of designs. You can see some of their examples here.

Bottom line: Gardeners are ideal floral designers. We know the form, habit, bloom time and character of the ingredients in our gardens. And so we know how and when to harvest those ingredients — and arrange them in companionable displays in a vase. Perhaps this is an unscientific, alternative approach to floral design. But it makes sense to me! When you use seasonal ingredients, then they will naturally look like they belong together in a vase.

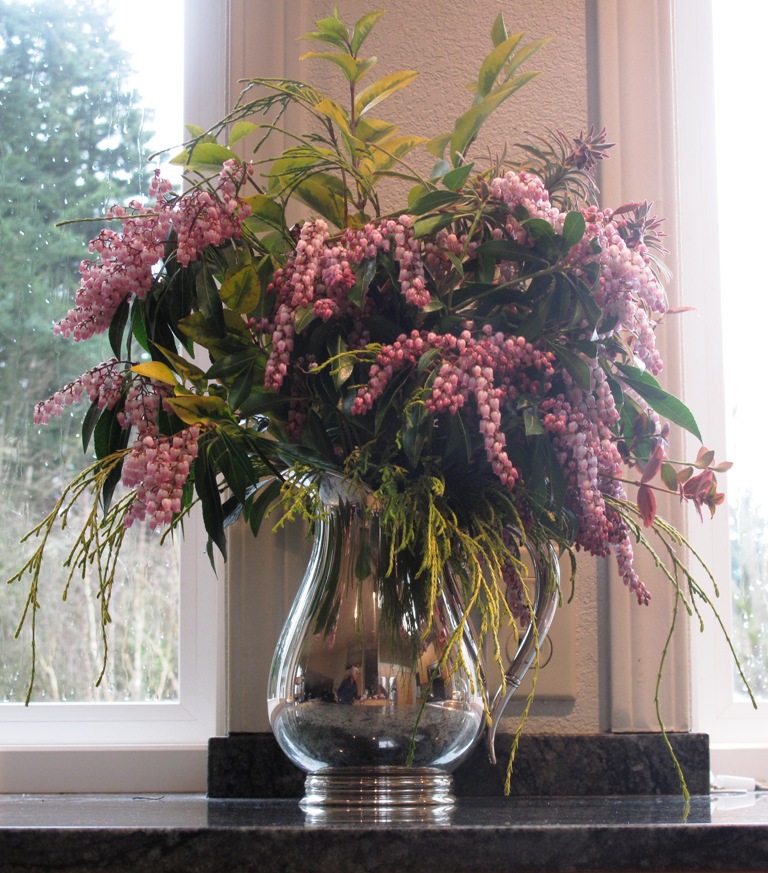
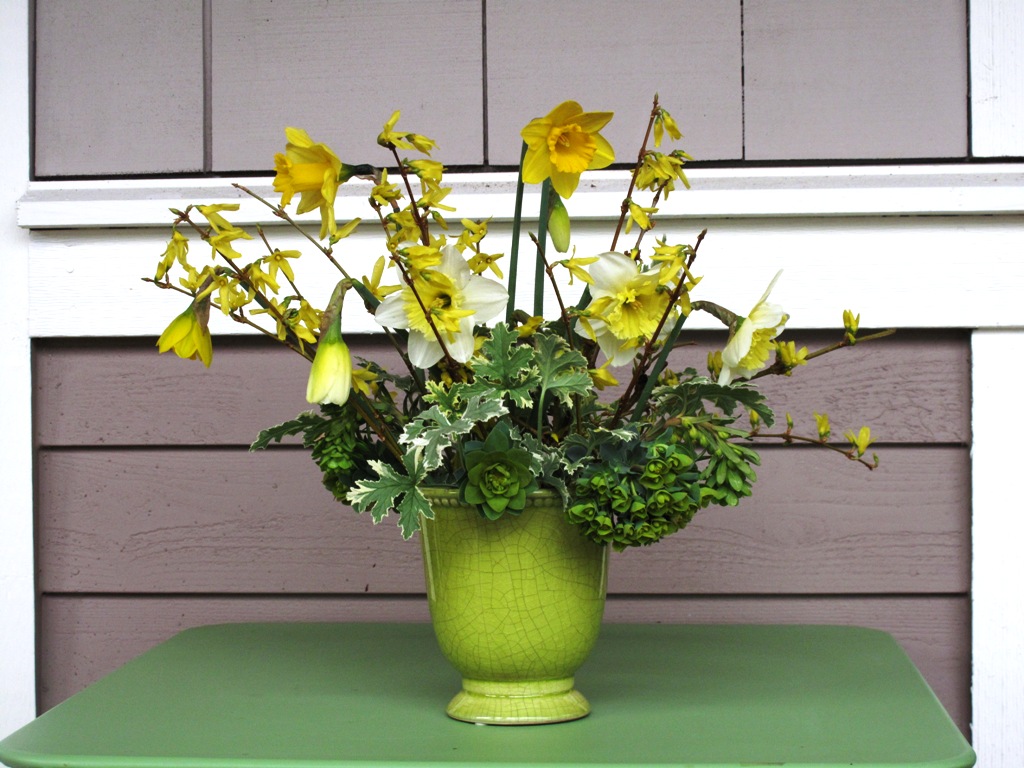
Here’s a lovely gallery of the local-seasonal-sustainable designs that filled our vases:


Decisions, Decisions . . . right flowers, right vase?

Saturday, January 7th, 2012

Metallic, pewter, and snowy white - the non-floral arrangement

Choosing the appropriate vase for an arrangement is like finding the right pair of shoes to compliment your cocktail dress, right? There’s good, better and best. A critical eye is required to make the right choice!

Today, not able to decide which vase to use for my New Year’s arrangement, I photographed my silvery-winter ingredients in three different vases. Please vote for your fav!

The ingredients:

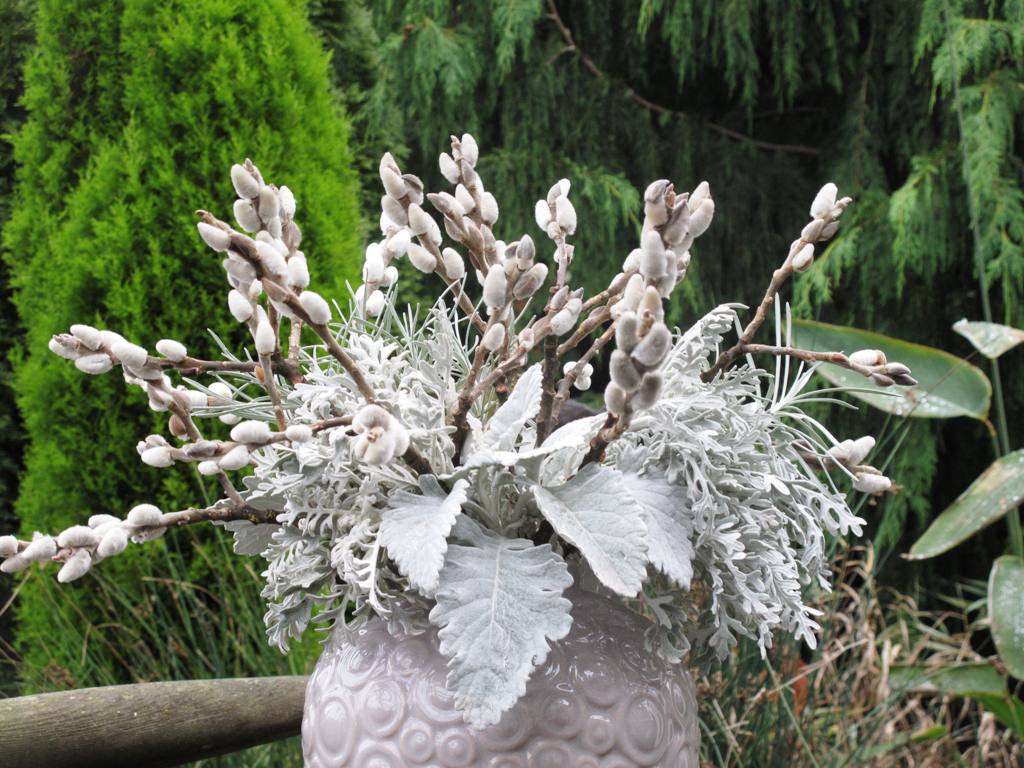
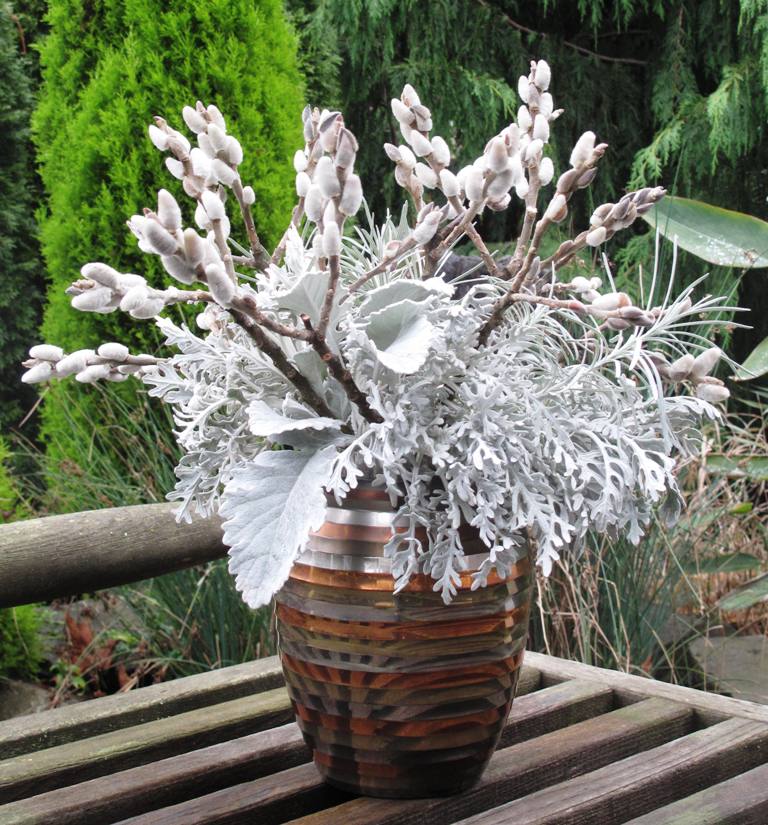
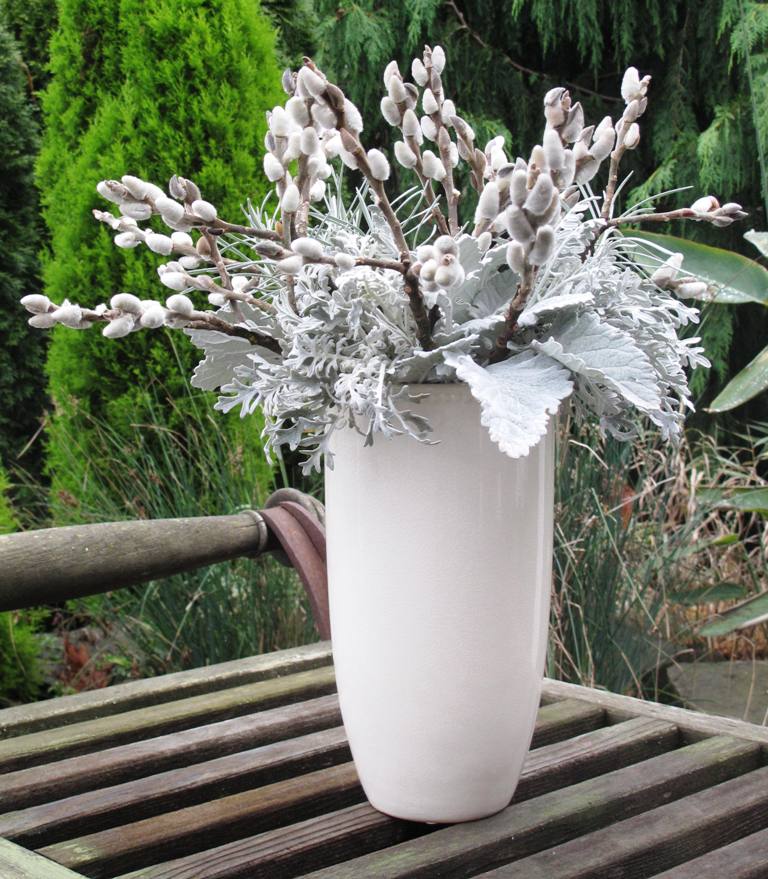
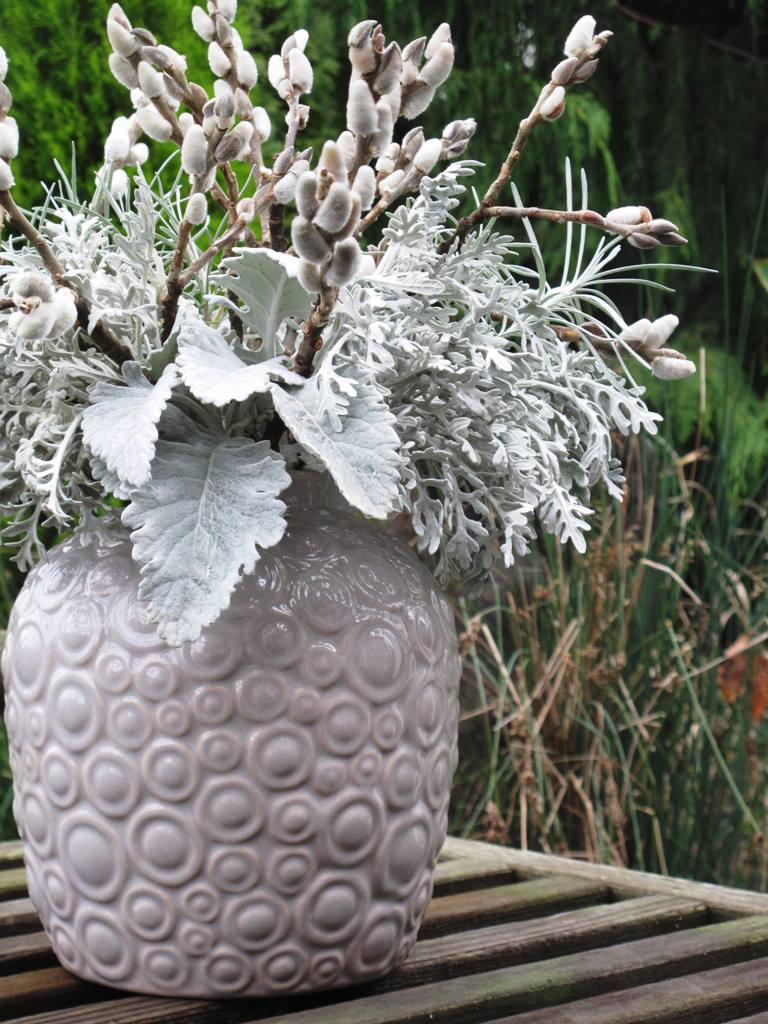
  • Pussy willow from J. Foss Garden Flowers in Chehalis, Washington (grower Janet Foss tells me the cultivar of her unique, multi-branched form of pussy willow is unknown; she took cuttings from a customer’s garden and began propagating them). The stems are truly stunning and way more interesting that your typical ramrod-straight pussy willow branch
  • Two forms of Dusty Miller (Centaurea cineraria) — lacy and broad, grown by Charles Little & Co. of Eugene, Oregon
  • Plus, a few sprigs of feathery Artemisia arborescens from my garden.

We’re all a little tired of evergreens and red berries, right? That was my thinking when I came up with a metallic, pewtery vibe, which seems fitting for the New Year.

Option 1: Stripes of bronze, brass and pewter embellish this substantial urn, inherited from my father-in-law. It’s the only shiny-metallic vessel I own.

Option One

 Option 2: Basic white. Going for the simple statement. The foliage definitely looks snowier against this glazed vase.

Option Two

 Option 3: More textures, this time in a ginger jar with a raised, circular pattern. Its color is arguably mauve or pale lilac. Or maybe gray with a tinge of purple.

Option Three

Please vote in the comment section – and tell me WHY you prefer a particular vase for this combination!

Happy Amaryllis!

Sunday, December 11th, 2011
Poetry in a bloom

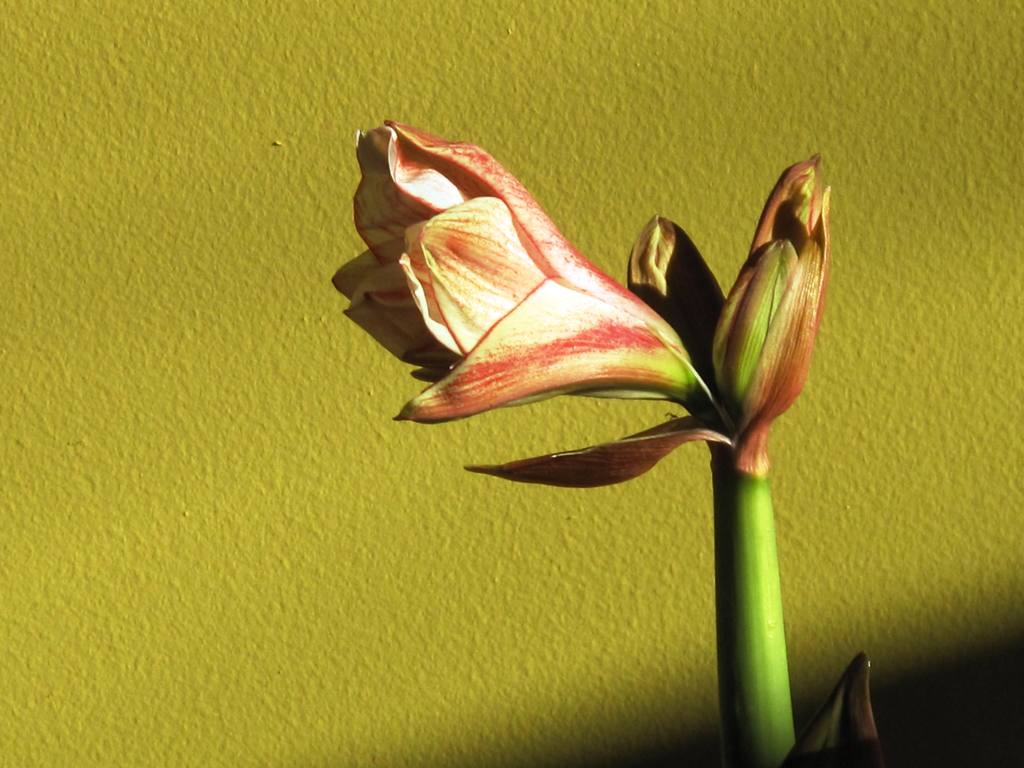
Here’s a lovely amaryllis that I potted up to enjoy in our dining room this month. I can’t say enough about the beauty of every Hippeastrum hybrid I see this time of year. There have been many holiday seasons when I am super organized, and have planned ahead to purchase the bulbs, plant them in decorated pots and nurture them to bud-stage for hostess gift-giving.
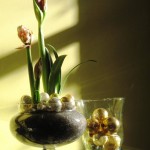
This was not one of those years. Instead, I purchased two amaryllis already in bud stage from Cascade Cuts, a wonderful grower who is now selling herbs and potted plants at the Seattle Wholesale Growers Market. You can see how I planted the ‘Joker’ hybrids here.
The flowers I chose are mostly white with red streaks. In Starr Ockenga’s marvlous, photo-filled book called Amaryllis (Clarkson Potter, 2002), there are several varieties of these candy-cane style blooms. Not ‘Joker’ but enough alternate varieties to wow you for holiday decorating or gifting.
As I said, I purchased 2 potted amaryllis about a week ago, but I didn’t know how I was going to display them until yesterday. I attended 2nd Saturdayz, the monthly indoor vintage flea market, with my friend and design muse Jean Zaputil.
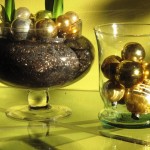
We found all sorts of fun stuff, from a 1950s plastic light-up Santa (Jean) to red and green-handled wood rolling pins (me – for my culinary essayist-friend’s surprise Christmas gift). And then I found a pretty piece of glass for $15. It has a nice footed base and graceful lines. I guess you could serve a trifle in it, or perhaps display it filled with vintage glass ornaments, as I found it.
But once I came home yesterday, I started thinking: “Why not plant my 2 amaryllis flowers in this beautiful vessel?” Who says you can’t put pottting soil in glass anyway? The trick was to first pour a layer of gravel in the base, then add some potting soil and the two amaryllis. I topped off the design with the vintage silver-and-gold ornaments that came with my $15 vase. A new sort of mulch! When I water the bulbs, it will be carefully, so as not to flood this glass vase (since it has no drainage).
They are gracing our dining room and looking quite lovely. When December and amaryllis season arrive, I always find myself wishing for more of these yummy blooms. So here are some more pics. Please enjoy!

Shutters, stylish and succulent-filled

Sunday, November 13th, 2011

Last year I blogged about finding a set of half-circle shutters at a vintage sale. I wanted to emulate my friend Baylor Chapman’s succulent-planted shutters that grace her outdoor terrace in San Francisco. Since then, a few folks have emailed to ask if I EVER finished that project? Much to my embarrassment, those dusty shutters sat in the garage, untouched for nearly a year!

But finally, now that we’ve settled into a permanent residence, I’ve been able to work on this project. The shutters have been cleaned and given three coats of exterior paint. To turn them into vertical succulent planters I mounted both pieces with wood screws outside my office windows and then stuffed the openings betweeen each slat with sedums and sempervivums. Let’s see how they look:

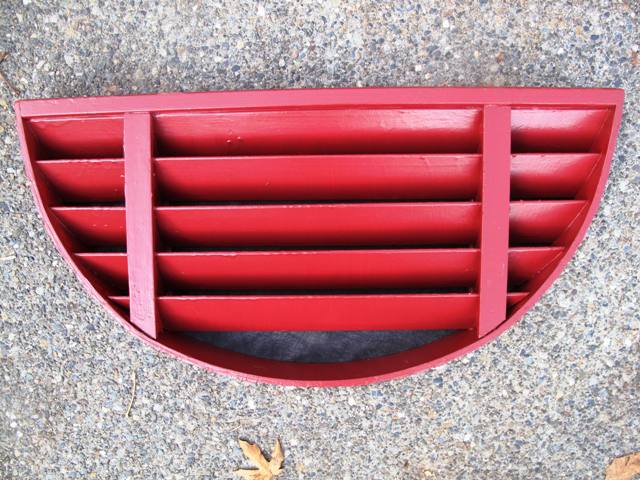
Step one: Paint the shutters. I used semigloss acrylic berry-red, the paint used for my home's exterior trim

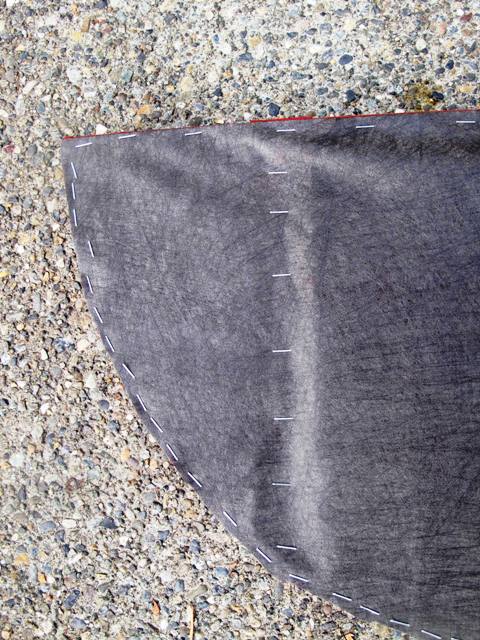
Step Two: Staple landscaping cloth to the back of both shutters.

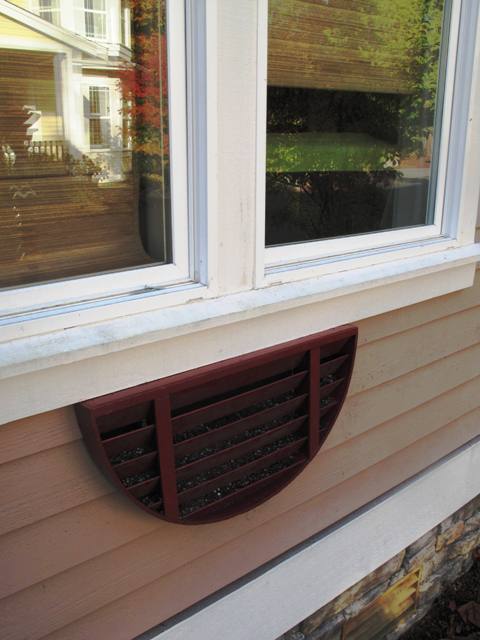
Step Three: Mount shutter and fill the "slots" with potting soil.

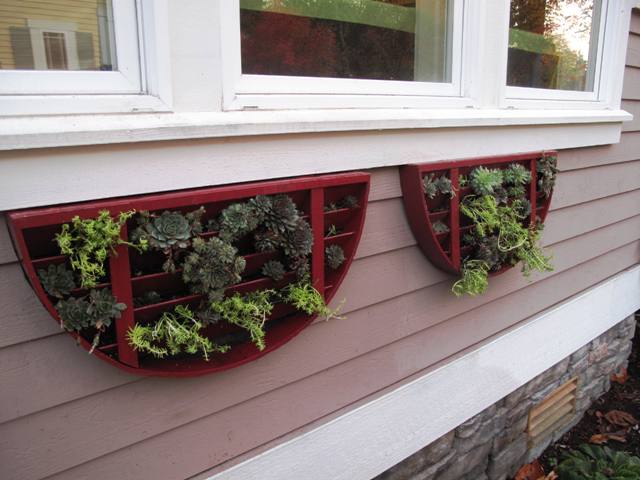
Step Four: Plant with hardy sedums and other succulents.


Mostly native plant list for a modern California garden

Tuesday, November 1st, 2011

A stand of cape rush adds a semitransparent layer of privacy between sidewalk and front garden.

Joel Lichtenwalter and Ryan Gates of Grow Outdoor Design, based in Los Angeles, have introduced me to some really creative gardens they have designed. And what strikes me when seeing these mostly small, urban landscapes, is how well plants are used as architectural elements within the spaces they reside.

Designers Joel and his client Scott can be seen in the distance, conferring on some of the planting designs.

You won’t see fluffy cottage gardens with English-inspired perennial choices in Ryan and Joel’s gardens. Yet even when they design for bungalow-scaled residences, some of the same intimate, cottage garden experience occurs for the humans who occupy them. That emotional sense of being surrounded by plants, layers of textures — and even color in a tonal, modern sense –happens in their gardens.

I wrote about one such place recently and you can follow the links to the Los Angeles Times story here, including an extensive web gallery.

For those who ask: What plants are appropriate for a lush, low-water landscape? I think you’ll appreciate Ryan and Joel’s plant list for their clients’ lawn-free front yard now filled with native and Mediterranean grasses, shrubs, ground covers and trees, many of which display multi-season beauty:

A shopping list of California native plants and their Mediterranean companions
Natives:
Ceanothus griseus horizontalis
Yankee Point
Cercis occidentalis
Arctostaphylos ‘Howard McMinn’

Arctostaphylos ‘Emerald Carpet’
Leymus condensatus ‘Canyon Prince’

Muhlenbergia rigens
Platanus racemosa
Carpenteria californica
Eschscholzia californica
Juncus patens

Sisyrinchium montanum (Blue Eyed Grass)

Non-Natives:
Arbutus ‘Marina’
Agave bracteosa
Leucadendron ‘Safari Sunset’

Agave vilmroniana
Olea europaea
Chondropetalum tectorum

Materials:
Composite decking (raised deck and boardwalk)
Square pre-cast concrete pavers
Poured-in-place concrete bench
‘Del Rio’ gravel
Decomposed granite (DG)
Shredded tree mulch

Backyard Bouquets

Wednesday, October 26th, 2011

As some of you may know, I’ve been working on a book about local and seasonal floral design for several years, since 2007 to be precise. My collaborator, photographer David Perry, and I have been using the working title, A Fresh Bouquet.

But that’s all changing now, with a new title from our new publisher, St. Lynn’s Press. The words evoke just the right idea we want to communicate: The 50 Mile Bouquet: Discovering the World of Local, Seasonal, Sustainable Flowers.

Nice, huh? Our publication date is April 2012 and I’ll be writing lots more news about it soon.

Since all I’m doing these days is interviewing flower farmers, eco-couture floral designers and gardeners who grow their own cut flowers, my head is swimming with beautiful blooms.

And somehow in all this flurry of work, I’ve failed to post the out-takes from my floral design story that ran a few months ago in Better Homes & Gardens. So today, I’m taking a moment to get to it.

Backyard Bouquets - in BH&G's July 2011 issue

How great that 7.3 million readers of the July 2011 issue were introduced to the timeless notion of gathering flowers from the garden, a local farmer or a market stand – IN SEASON – and creating a simple, yet sumptuous arrangement that’s of the moment!

I have my editors Eric, Doug and Gayle to thank, because they believed in the idea and created the perfect opportunity for me to fly to Iowa and design a series of bouquets literally out in the field at Howell’s Family Farm.

I shared some of my on-the-scenes location photos last year, but here, finally, are my photos and recipes of the actual arrangements.

Project One

Project One features a rectangular galvanized container, measuring about 5-by-8 inches and about 5 inches tall. This small vessel was perfect for a compact bouquet with two simple ingredients. First, I filled the opening with four or five luscious heads of ‘Limelight’ hydrangea, the stems cut fairly short, say 3 inches long. To fill the spaces between the hydrangea heads and to add contrasting color and texture, I made miniature bunches of ‘Strawberry Fields’ gomphrena by wiring five slender stems with wire so that each bunch could be inserted as if it were a single flower. This is the perfect arrangement to enjoy while it’s fresh and then let it slowly air dry as an everlasting bouquet.

Project Two

Project Two features a tall, square, modern green glass vase with a neck opening that’s smaller than the base. So of course, to make it look abundant and full, I had to create volume and height. The starting flowers here are sultry-looking zinnias from a new seed mix called ‘Queen Red Lime’ – I love the terra cotta, mauve, and reddish blooms with a lime-green center. Once I had those in place, I thought: We need dark foliage. And lucky for me, the folks at Howell’s, like many cut flower growers, have discovered how well basil performs as a cut ingredient – especially purple basil! Think about it: when you harvest basil from your garden and bring it indoors to keep in a jar on your windowsill, have you ever noticed how long those cut stems last? Of course basil is a great cut floral ingredient! The third element here is one of those happy coincidences – common foxtail grass, which some consider a ditch weed, that perfectly echoes the green vase, and catches the late summer sunlight just beautifully. Three simple ingredients in perfect harmony.

Project Three

Project Three is one of my very favorites, because of the mix of colors and textures. Contained in a vintage pitcher, I absolutely love the playful combo of velvety cockscomb (the crested form of Celosia ) with all the lime green contrasting forms. Here’s how I made this bouquet. First, I filled the pitcher with soft greenery, a white mugwort (Artemisia lactiflora) that fills the opening and becomes the supporting structure for all the subsequent stems. Second, I stripped foliage off of 10 maroon and coral-hued cockscomb flowers; then I cut the stems pretty short and inserted each into the fluffy base, making sure that you can’t see the stems showing at all. Third, I added some ‘Green Envy’ zinnias, which echo the pitcher’s green quite nicely. For a sense of movement, as a final touch, I inserted taller stems of quaking grass (Brizia maxima), so they seem to hover above the bouquet. Casual and the epitome of summer!

Two other projects fell on the cutting room floor, so to speak, so you get to see them here! Actually Project Four showed up in the iPad edition, along with a video interview filled with my eco-savvy design tips. You actually have to download the July edition to see the entire interview (filmed by David Perry) on an iPad.

Here’s a rough-cut edit of the video:

httpv://www.youtube.com/watch?v=ZLKacMtjJUY

Project Four

Anyone can replicate Project Four, a fun trio of mini-arrangements, which are displayed in a row or grouped together on the table as a centerpiece. We used three yellow tumblers that art director Scott Johnson brought from his kitchen cupboard. The simple idea was to showcase several varieties of black-eyed Susan flowers (Rudbeckia sp.) with a mix-and-match of foliage choices. The daisy-like Rudbeckia varieties include, from left: ‘Indian Summer’ and ‘Denver Daisy’ with zebra grass (Miscanthus sinensis ‘Zebrinus’); ‘Irish Spring’ with lamb’s ears; and ‘Prairie Sun’ with goldenrod (Solidago). This type of design works well when you only have one or two of anything in bloom at a given time – voila!

Project Five

For Project Five, the last arrangement, I had to rise to the challenge of creating flowers that wouldn’t fall out of the wide, saucer-like bowl. Similar to cutting the hydrangea stems short in the first design, I cut lots of Sedum ‘Autumn Joy’ in their unopened stage. A this point, they still look pretty green because the buds are tight. When you cut the stems short, say at 2-3 inches, you can really cram a lot inside an opening. To me, they almost look like heads of broccoli! But the tightly-packed sedums create a foundation through which other stems can be inserted. And in this case, I inserted old-fashioned love-lies-bleeding (Amaranthus caudatus) and Queen Anne’s lace. The tassels cascade over the edge of the shallow bowl, and while it’s kind of quirky, I really love the effect of textures and colors.

Together, these five designs demonstrate the diversity of the cut flower world – and ways to arrange blooms without using florist foam to stabilize the stems. Have fun playing around with these ideas using your own vases and garden flowers.

Plant a conifer in a container for evergreen appeal

Friday, October 7th, 2011

Check out pages 122-128 for my "Evergreen Appeal" story featuring Jean Zaputil's container designs

The October issue of Better Homes & Gardens features a container design story that I created with my talented BFF Jean Zaputil of Seattle-based Jean Zaputil Garden Design.

This story began when I pitched the idea of a feature about using ornamental and dwarf conifers as the focal point of a fall container . . . that will then transition nicely through the winter months. My editor in the garden department, Eric Liskey, and his art director Scott Johnson liked the idea. But then they asked me to find a good location for photographing the fall story.

I immediately thought of Jean’s intimate Seattle garden, which is planted for all-season interest and has beautiful seating areas both in the front yard and back garden.

Once Scott and Eric signed off on the location, our challenge continued. Scott thought that a purple palette was both uncommon and a great foil for the evergreen needled foliage. So, needless to say, much of my energy producing this story was spent scouring the greater Seattle marketplace for plum, lavender, aubergine and purple containers. We ended up with a grand total of three pot styles – a small lavender ridged pot; an egg-shaped pot (in 2 sizes) and a classic olive jar shape (also in 2 sizes).

Thank goodness for some wonderful importers here in Western Washington who came to the rescue, including Washington Pottery and Aw Pottery! Our friend Gillian Mathews of Ravenna Gardens was extremely helpful in making those connections for me.

The tiniest pot, measuring only 7 inches, looks quite sweet in Jean's entry garden.

Jean used many of her favorite wholesale and retail nursery sources to come up with the conifer “stars” for each pot, as well as their companion plants.

The idea was to use only two or three accent plants in the container so as to show off the Hinoki false cypress, juniper and other conifers in their full glory.

We hope that this piece inspires readers who never before viewed a conifer as a container plant to do something fun and different this fall. I quoted Jean in the story saying:

“Use the golden glow or silver shimmer of an

ornamental conifer to catch the fall light.”

And Jean color-coordinated with her pots!

Here are some of the tips we outlined:

1. Use a large pot, if possible.

A 12-inch diameter pot is a good minimum size.

2. Start with a small juniper, cypress, or other conifer.

Then combine it with two or three complementary or contrasting cool-season annuals and perennials.

3. Flowering plants might fade after the first frost.

You can replace them with foliage perennials that will last through fall, even well into winter.

Here is the best of the best – from our photo shoot a year ago this month! Kudos to the very talented Laurie Black, who took the magazine photos, such as the one above. The photo of Jean and Pots 1, 2, 3 & 4 are my photos.

Pot 1

POT 1: Sadly, this gorgeous purple egg-shaped pot was left on the cutting room floor! But here is the recipe:

  • Juniperus horizontalis ‘Limeglow’
  • Japanese blood grass (Imperata cylindrical ‘Red Baron’)
  • Wintergreen (Gaultheria procumbens)
  • Chrysanthemum ‘Dazzling Stacy Orange’


Pot 2

POT 2: A miniature garden in a pot – perfect for a side table or the front porch:

  • Hinoki false cypress (Chamaecyparis obtuse ‘Verdoni’)
  • Japanese sweet flag (Acorus gramineus ‘Minimus Aureus’)
  • Bluestar creeper (Pratia pendunculata ‘Little Star’)


Pot 3

POT 3: This might be my favorite! We photographed it on Jean’s front porch, against her beautiful green screen door:

  • Hinoki false cypress (Chamaecyparis obtuse ‘Gold Fern’)
  • Tiarella ‘Sugar and Spice’
  • Vinca minor ‘Illumination’
  • Gazania Gazoo Mix


Pot 4

POT 4: This copper red “turnip” pot is one of two Jean already owned and we thought the color and shape looked autumnal, while also complementing the purple pot tones:

  • Juniperus horizontalis “Limeglow’
  • Moss (Schleranthus biflorus)
  • Sedum hakonense ‘Chocolate Ball’
  • Chrysanthemum ‘Dazzling Stacy Orange’

A few more tips, from the story:

When, and whether, you leave containers out all winter depends on where you live. In Zones 8-10, most conifers and cool-season annuals will survive outdoors in pots. In Zones 7 and lower, few annuals will overwinter in pots, and some evergreens won’t either, depending on hardiness. So before the ground freezes, transplant them to the garden or move the pot into a shed or unheated garage. Water pots as needed to keep soil moist throughout the winter. For outdoor winter use, pots should be glazed, hard-fired clay. Terra-cotta and soft-fired clay do not withstand freezing.

Charm in the country: my early fall trip to Skagit Valley and Bellingham

Tuesday, October 4th, 2011

Isn't this border pretty? Corn, sunflowers, zinnias - all in a row!

 A few weeks ago, at the invitation of the Whatcom Horticultural Society, I spent a relaxing 24 hours surrounded by gardens, flowers and nature – as well the company of like-minded plant-lovers. 

“Why don’t you come up to my house on Wednesday morning and we’ll go see some gardens before you give your lecture?” my friend Dawn Chaplin suggested. With established Bellingham landscape designer Susann Schwiesow, Dawn organizes the monthly lectures for WHS. This is the third time over the years that the society has invited me to speak. It’s always enjoyable, especially since the drive to Whatcom County and the enticing gardens and kindred spirits make my trip north so pleasurable. 

After meeting up with Dawn, who lives on a beautiful bluff outside Stanwood with her husband David, we hopped in the car and traveled to Fir Island, a small, bucolic place that’s reached by a bridge, so you barely realize you’re crossing over Skagit River to a real island. We toured the timeless garden created by Lavone Newell-Reim and her husband Dick. I’m hoping to publish as a magazine story in the future, but I can’t help but treat you to a few of the luscious images from this very special, lived-in and loved-in landscape: 

To me, this is a perfect vignette, camera-ready for a magazine. Lavone and Dick have a natural gift for placing plants in community with ornamentation and salvaged materials.

A circular patio with a thyme garden at its center. Inviting!

Chartreuse at its finest - in twin conifers and a potted succulent.


READ MORE…