


Floral Therapy, or what to do with six hydrangea shrubs!
August 28th, 2014
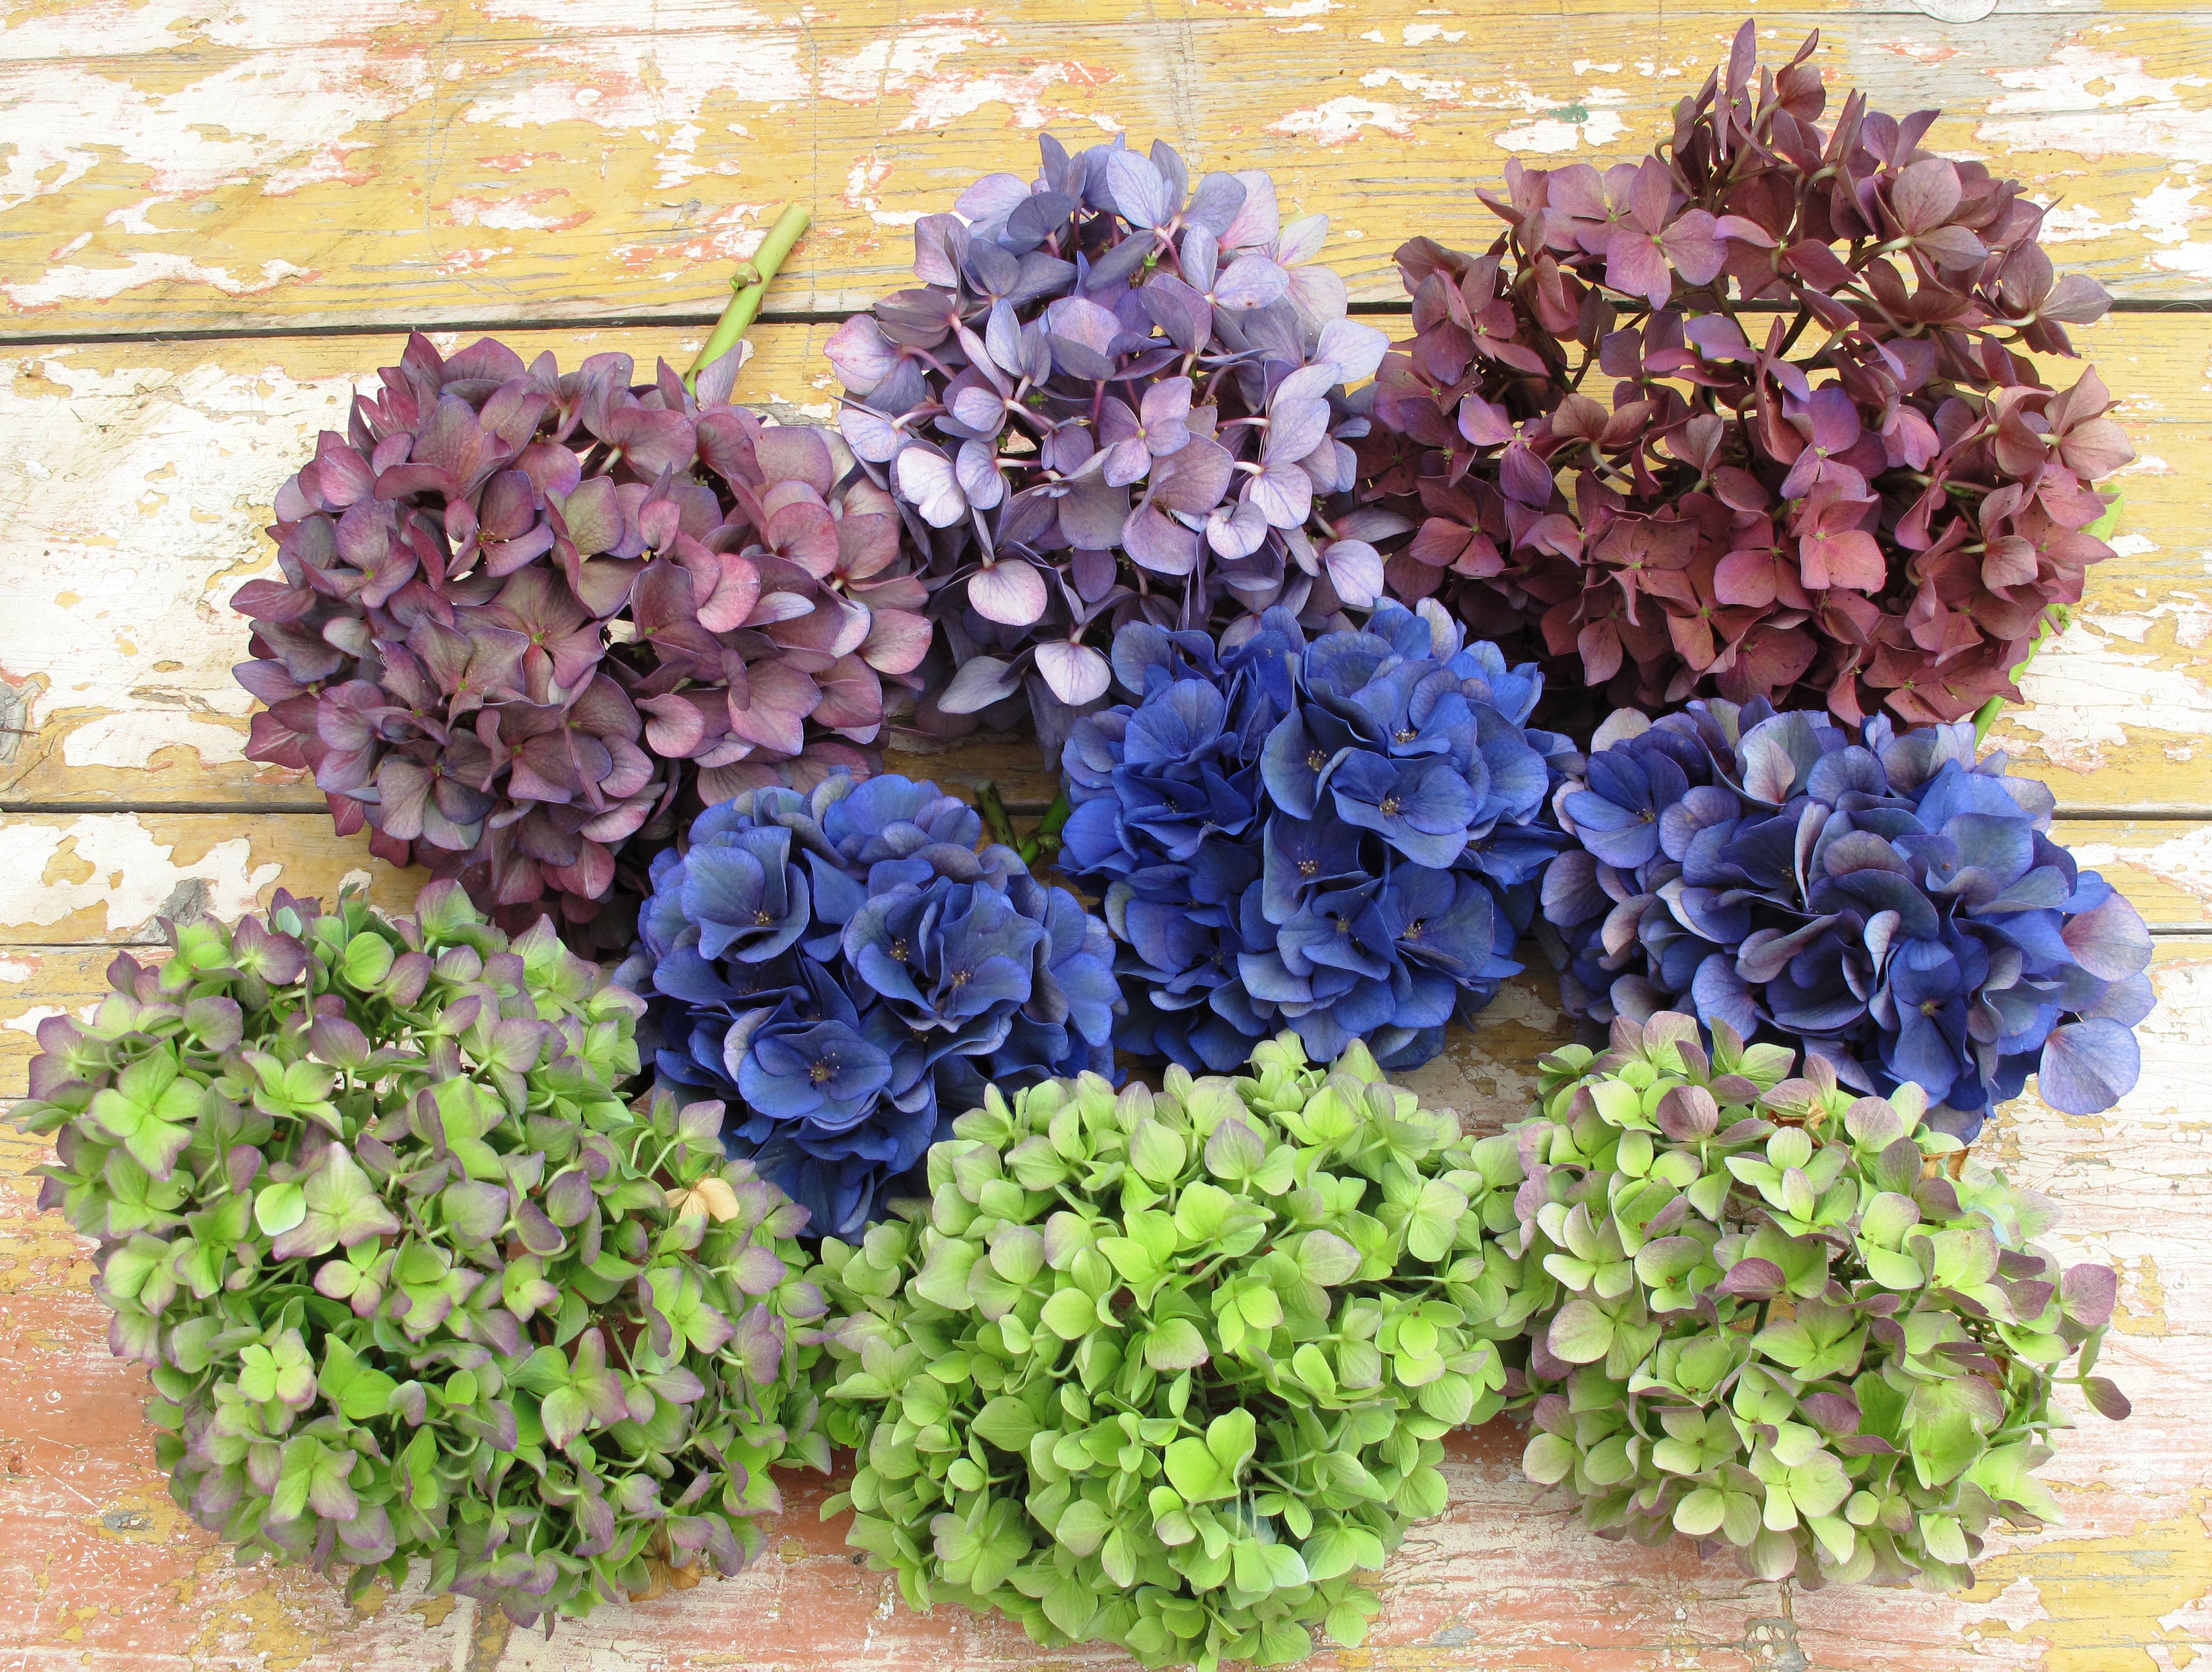
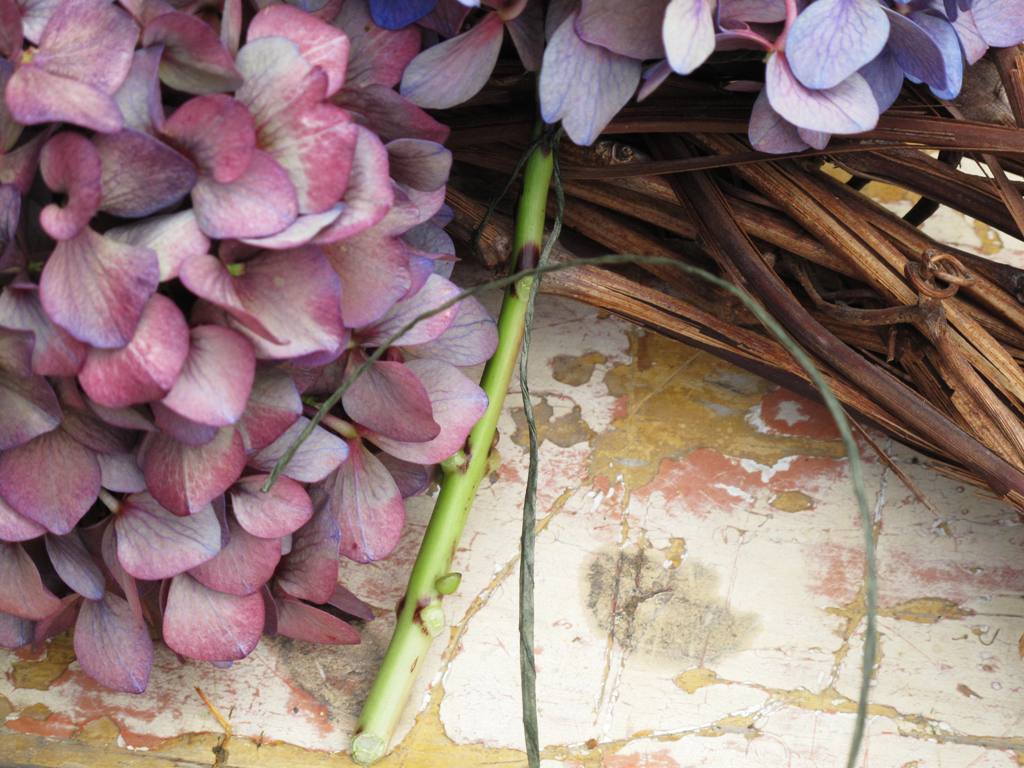
Start with some gorgeous garden hydrangeas, at the perfect moment in late summer when you can pick them for drying.
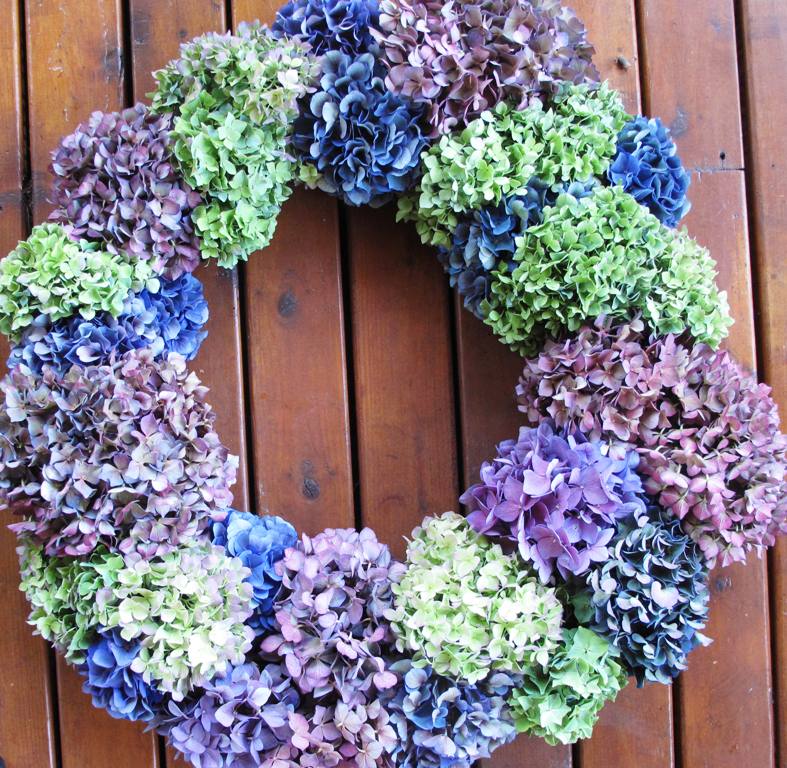
Sixty hydrangea heads later . . . you end up with a romantic floral wreath.
It has been a long few months.
All good, or mostly good. But I’ve been on too many airplanes since July1st and I’m so happy to be home for a while.
Yet even though I’ve been home, way too much of my time has been commanded by the desk chair, computer screen and keyboard (oh, and the telephone). I’m definitely NOT unplugged.
Needless to say, I’ve been itching to do something to fill the creative void in my soul.
Since last week, I’ve been dreaming about making a Hydrangea wreath with the prolific mop-head flowers that line our driveway and front walk. I can’t take any credit for their beauty or the successful way they thrive here in our garden. The previous owners must have loved Hydrangea shrubs. There are no fewer than six of them. And I’ve planted one more to make it seven.
At the same time, Lola Honeybone and Marla Kramer, my publicists on Slowflowers.com, have been planning a holiday wreath PR pitch to promote the site’s flower farmers who make and sell wreaths from the crops they grow. So as I have sought wreaths made from protea, willow, lavender, greenery and other everlasting ingredients, my imagination has been fueled.
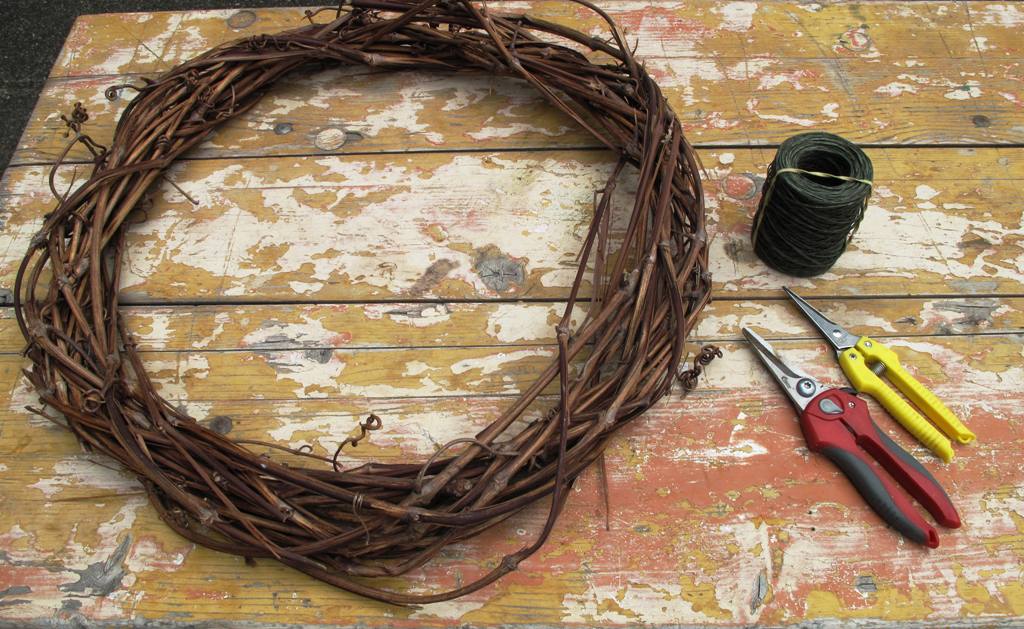
Getting started with a repurposed grapevine wreath, bind wire and snips.
I kept looking at those tawny-hued, fluffy blooms on my own hydrangea shrubs. It’s still summer, but this is the time – end of August – when the pale green, vivid blue and hot pink blooms take on a lovely faded patina. And that means you can cut the flowers and they’ll air-dry beautifully.
My plan was to stop by the floral supply outlet to pick up a blank wire wreath form. . . but I hadn’t found time to make the trip.
Then, on Monday, when I was down in our crawl space grabbing props for another photo shoot, I was delighted to spy an old grapevine wreath (see above). Measuring about 20 inches in diameter and wrapped in a dusty ribbon, it was leaning against a wicker chair, forgotten for several seasons. My answer to the wreath project! No more procrastinating!
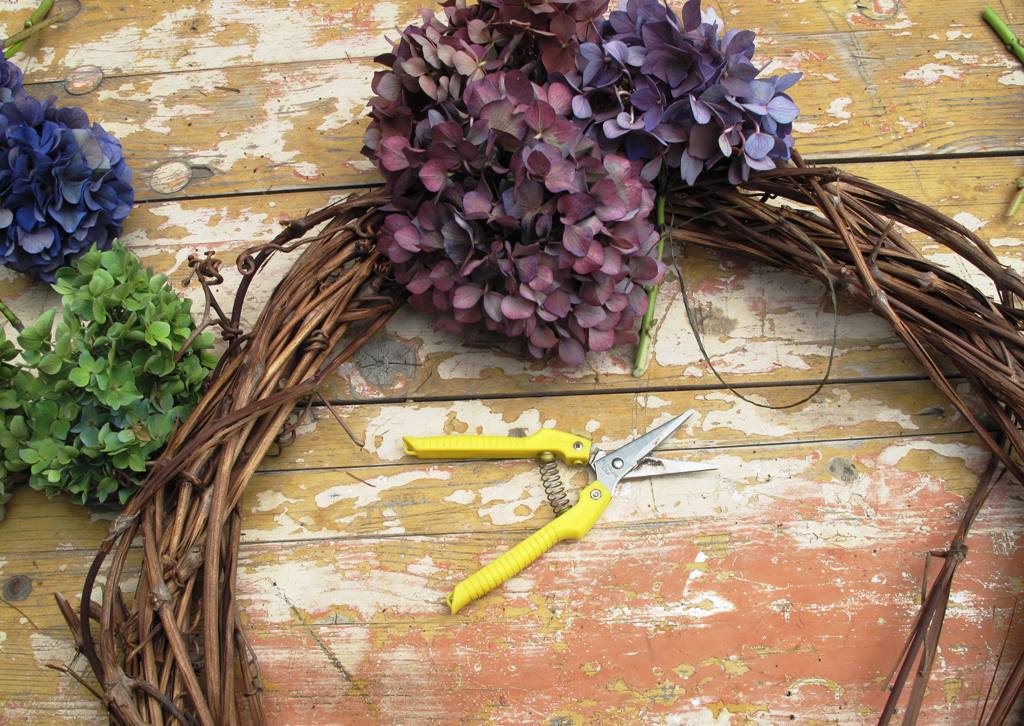
Start by wiring individual flowers to the grapevine wreath base.
Hope this detail gives you a better sense of how to wire on the flowers.
Brilliant! I spent about 2 hours today, stealing time between phone interviews (for stories with imminent deadlines, of course).
Making the wreath was the perfect distraction for writer’s block. In and out I went, from the office to the driveway. Every time I hit the wall (and let’s just say I don’t typically suffer from writer’s block, but I do sometimes suffer from boredom or fatigue, depending on the topic about which I’m writing), I would race out to the driveway and lash on a few more flowers.
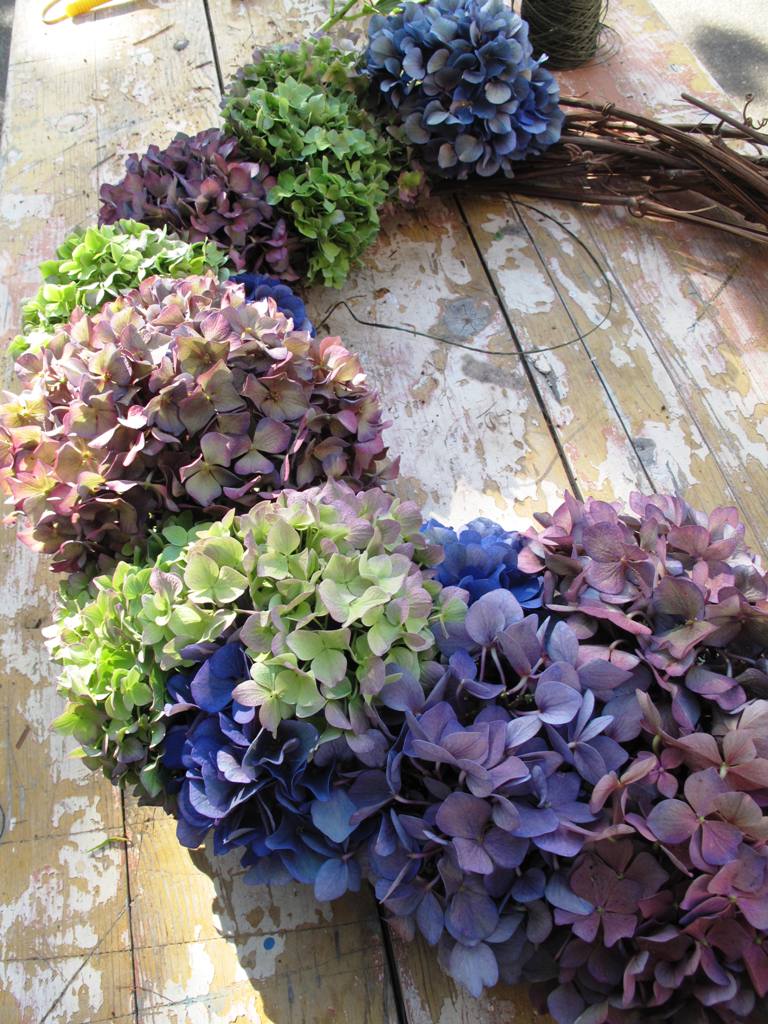
Making progress . . .
It was so fun to create all the details and interest by varying the pink, blue and green flower heads. Some were large and some were small, but by alternating the colors and sizes, I basically achieved a balanced look.
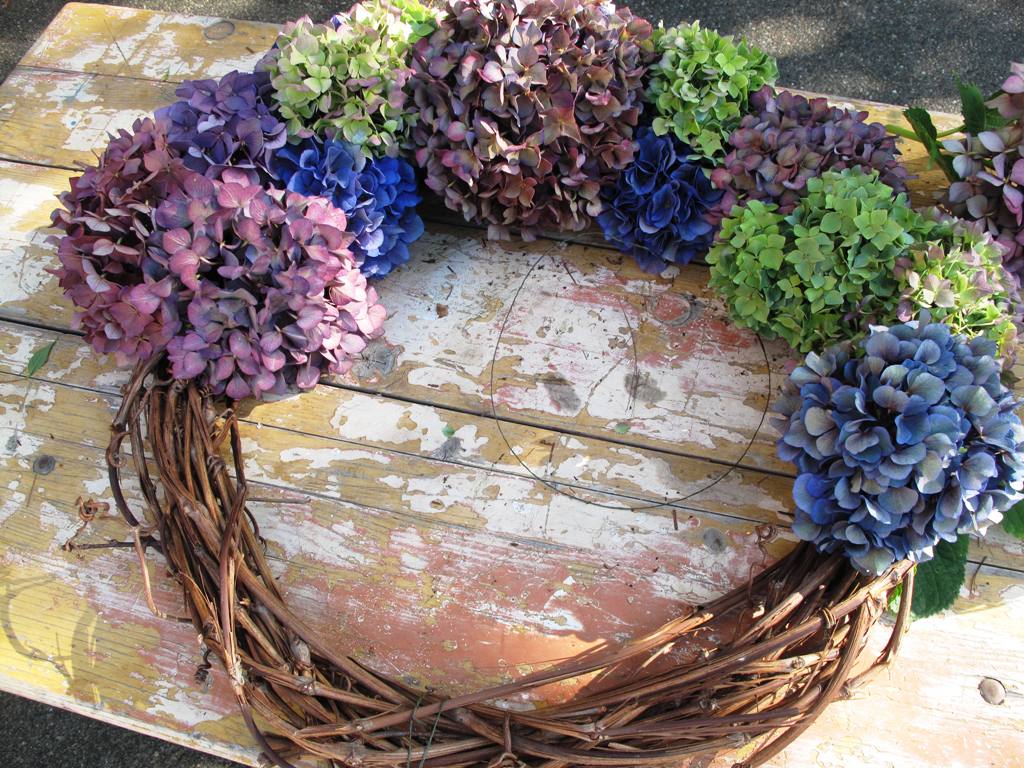
More progress . . .
Finally, I was done. I think I used 60 flower heads. The good news is that you can’t really even tell that I clipped from the shrubs – that’s how abundant they are.
And by hanging the wreath outside, on our covered porch, the flowers will stay cool and will “dry” slowly. This is much better than letting them dehydrate too quickly indoors where the house is still late-August stuffy.
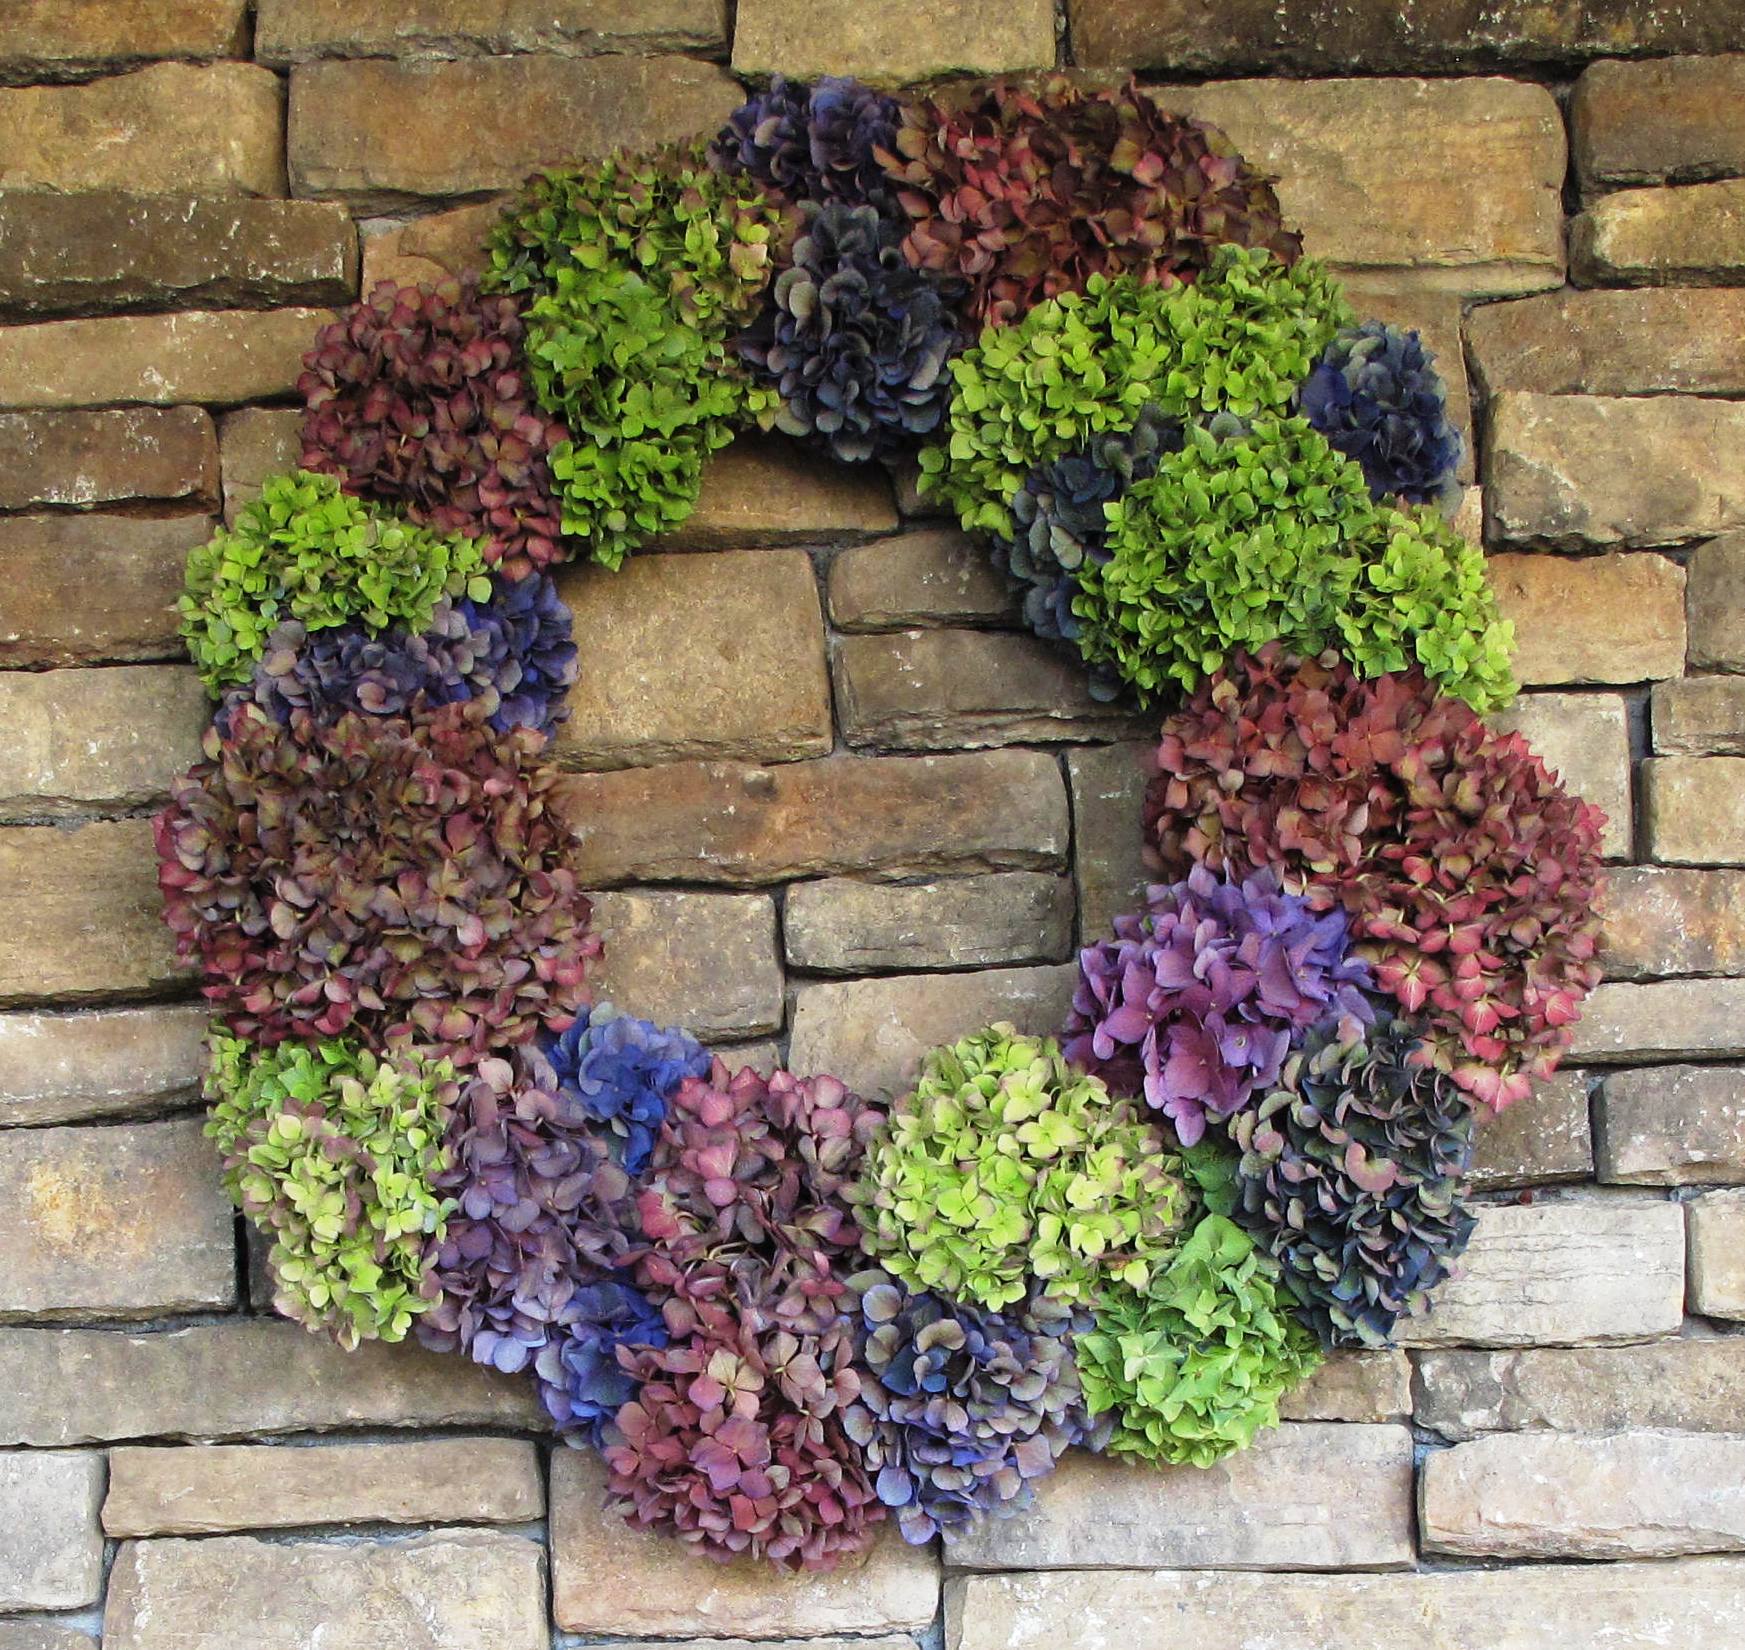
All finished and hung!
If you want to try this project, here are some steps:
1. Begin with a wreath base in the size you prefer. Use a wire frame, a moss frame or a grapevine form. Do NOT use one of those pre-made florist foam wreaths.
2. Gather good clippers and a spool of bindwire. That’s the paper-wrapped wire that looks like twine but behaves like a twisty-tie. It’s perfect for lashing short hydrangea stems to the wreath base. I used dark green wire, but the product also comes in natural. Both colors will nicely disappear from view.
3. Clip as you go. I set up my work table in the driveway, just a few feet from the hydrangea shrubs. That proximity allowed me to play around with shape and color as I determined how to repeat large/small flower forms and to vary the colors.
4. Attach stems to wreath base in any-which-way you can manage. The good news about clipping Hydrangeas at this time of the summer is that the stems are still fleshy and pliable. They won’t snap if you have to bend them a bit and then tie them onto the wreath base with the bind wire. I found that I could actually “weave” the flower stems through the braided grapevines, letting the openings in the vine grab the hydrangea stems. Then I tied each stem into place using the “twistie-tie” method. Tight as possible without turning the bind wire into a tourniquet. Clip away excess stems and wire.
5. Continue this process around the wreath until you’re finished. As I said above, I think I used a total of 60 flowers.
6. Hang and admire. You can actually “trim” Hydrangeas like you’d clip a hedge. Some of the larger flower heads bulged awkwardly to make my wreath appear lopsided. All I had to do is snip away the excess florets to even things out. Voila!

Lovely above our outdoor fireplace. The cool evening temperatures will keep these blooms from drying out – and since the porch is covered, they won’t fade.
I’ll keep you posted on how long it takes for this wreath to dry and how long into the fall and winter months it looks nice. I suspect it will live on the stone facade of our backyard fireplace until next spring!
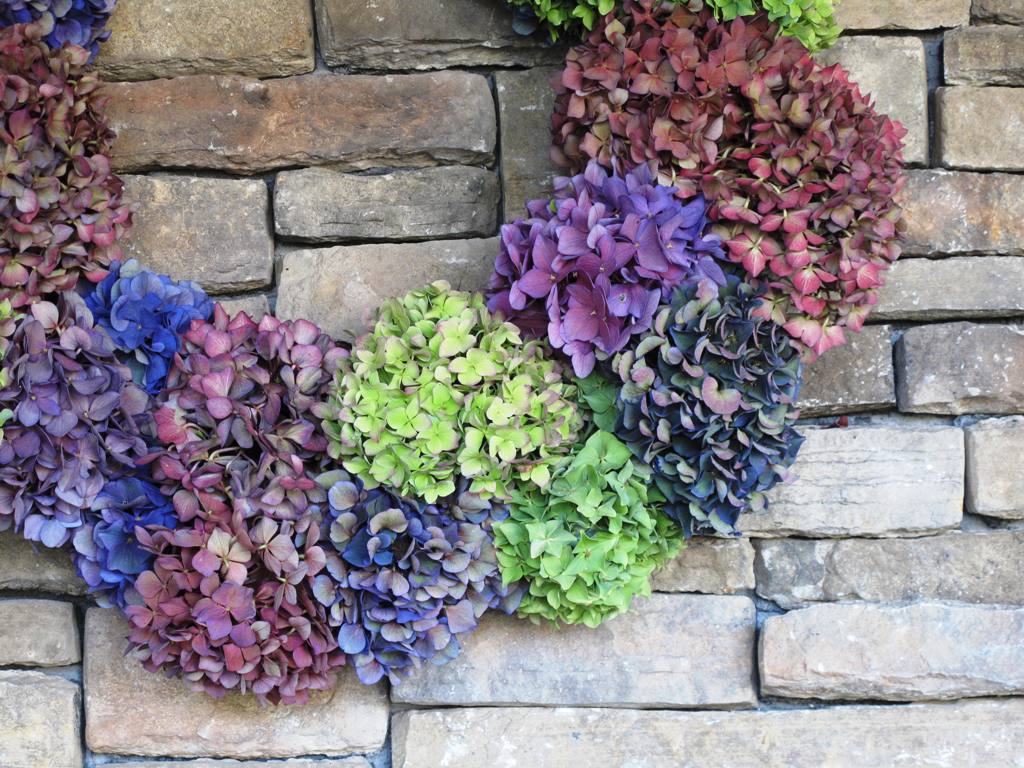
Lovely detail showing the diversity of bloom size and hue.
Now, back to those deadlines. Have a great holiday weekend!
August 29th, 2014 at 7:23 am
Oh, I love this so much–something I’ve been wanting to try, and our bushes are overflowing right now! Thanks for the gorgeous inspiration, Debra! 🙂
August 30th, 2014 at 5:48 am
Absolutely lovely!! Those bright blue hydrangeas are really amazing. And, the others too.. it’s just beautiful!!
May 14th, 2015 at 9:48 pm
Thank you for the simple instructions for the hydrangea wreath. We have a beautiful big old hydrangea in our front yard. Our daughter would like a slip from this lovely bush so she can have one in her own yard. Do you have any instructions on how to propagate a hydrangea?