Debra Prinzing

Get the Email Newsletter!

Footed glass, circa 1978

Sunday, July 14th, 2013
Side view of vases

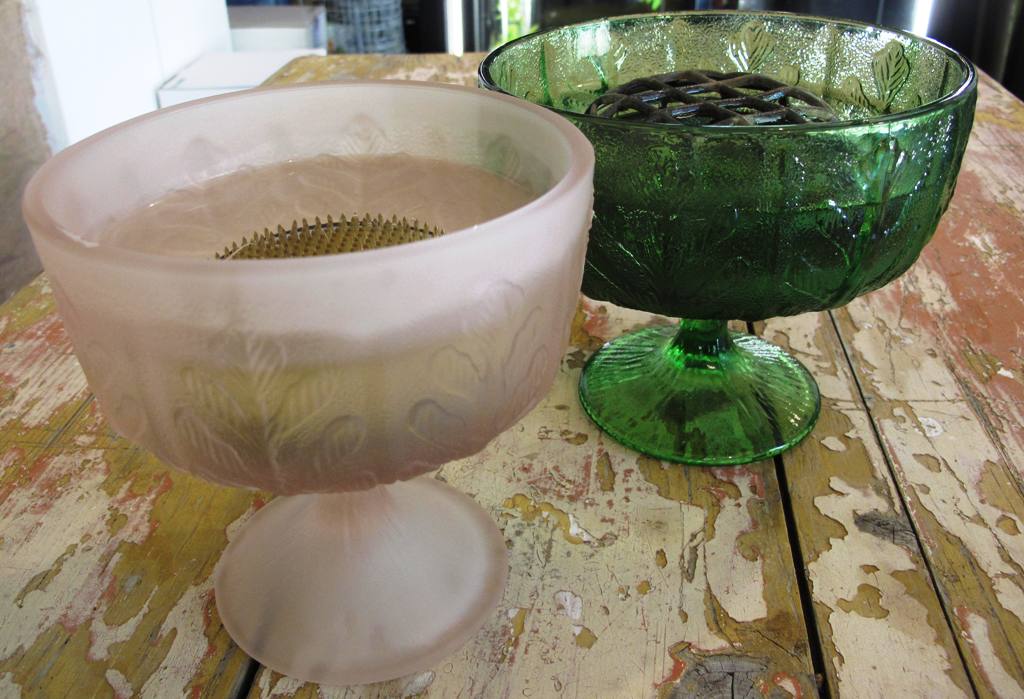
It’s easy to find these not-quite-vintage and not quite-retro, but definitely collectible footed glass vases. I snagged the frosted pink one on eBay for $4.99 and found the green embossed one at my local Goodwill store for even less!

These vases have been identified as FTD florist vases, dated to 1978. The pattern is called “oak leaf” and I’ve found the two colors shown above as well as an amber-gold and milk-glass white, all with the raised embossed leaf pattern.

2 Vases

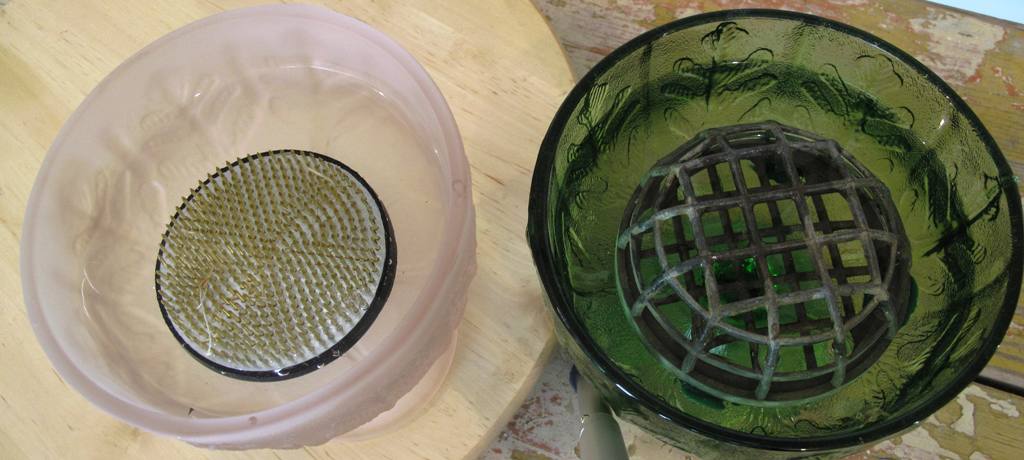
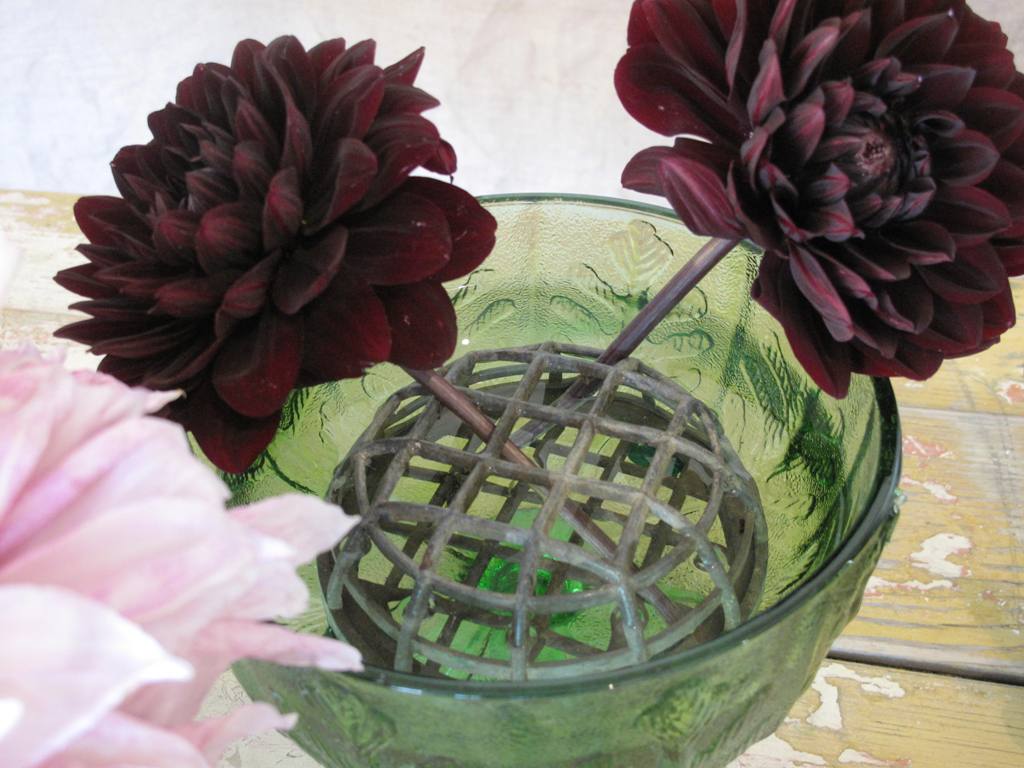
Getting ready by choosing flower frogs to fit inside the two vases.

The first time I used this charming green footed bowl in a demonstration, someone guessed it was Depression glass. There is that pressed-glass quality to these containers, but they’re newer. I like to think FTD was producing them in the U.S.A. and shipping them to mom-and-pop flower shops around the country at a time when those florists were still using predominantly American-grown flowers. The vases are so much more interesting and well made than most of the (probably) made-in-China stuff you see coming out of floral wire services these days. Keep your eyes out at the thrift store or surf on eBay, where I’ve found at least six or seven listings for idential and similar vessels.

I’ve written before about how much I love footed anything for floral arranging. Here is a recent post where I wax eloquently about footed vessels. Today, it was time to play with some flowers and see what I could create. By the way, here are the dimensions on these bowls: overall height, 5-1/2 inches; diameter, 5-1/4 inches; depth of bowl, 2-1/2 inches.

The shallow bowl does require some kind of device to stabilize stems. Back in the day, those 1978 florists were probably blithely cutting up chunks of foam to stick inside. But today we all know how unsafe it is to handle or use florist’s foam for its toxic attributes (formaldehyde being the active ingredient). So out came the metal frogs, as you can see in my bouquets below. Alternately, I could have shaped a section of chicken wire to fit inside, securing it with floral tape. Both methods are quite easy and eco!

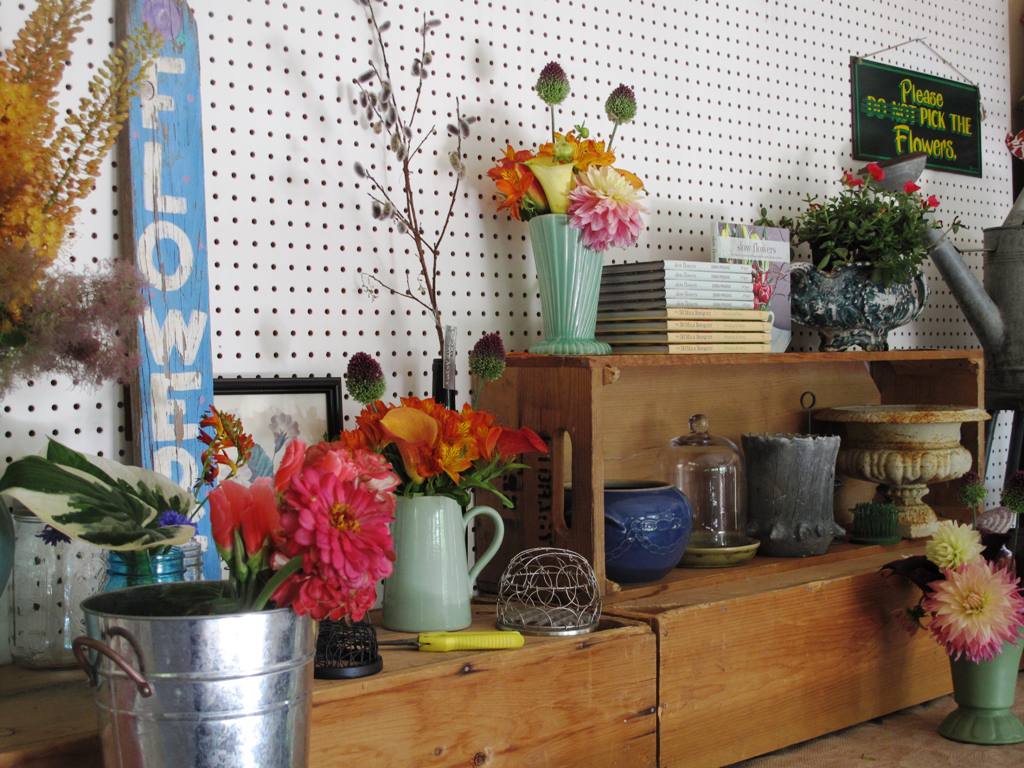
Here is my first of two arrangements, using the green vase: 

Green Vase and Frog

Step One: Insert maroon dahlias into metal frog. Notice how I’ve cut the stems short so that the flower head snugs close to the rim of the vase. 


Magenta and Fuchsia

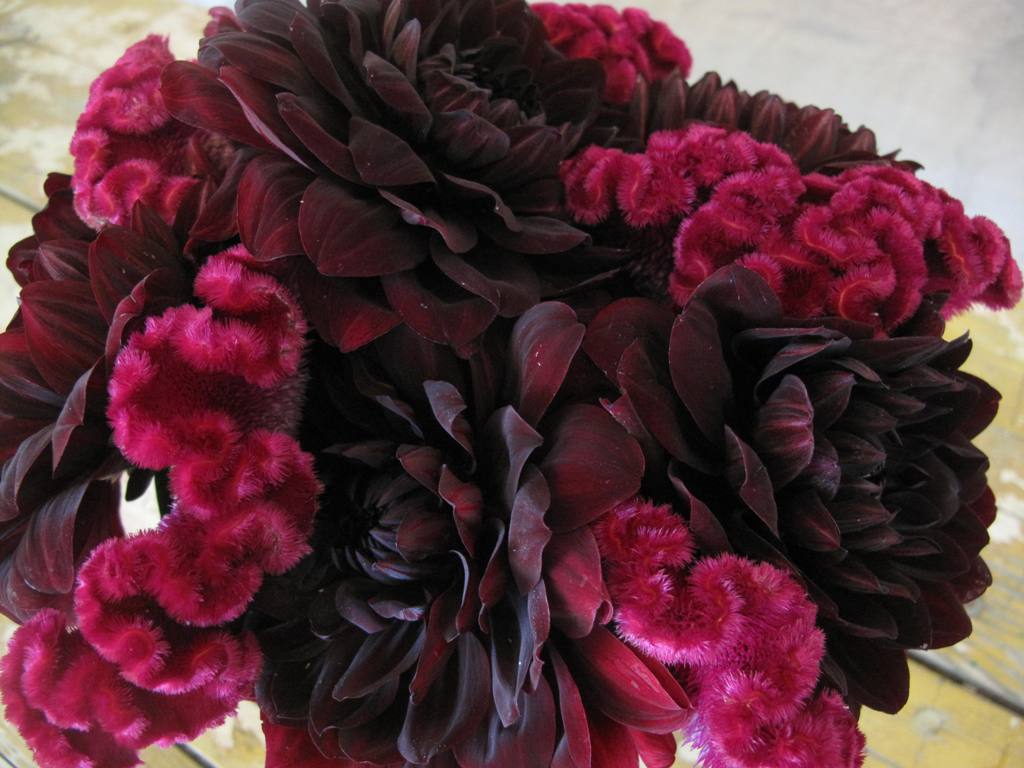
Step Two: After seven dahlias are arranged evenly throughout the opening, I added five lush fuchsia cockscomb celosias inbetween the darker flowers. 


Adding Alliums

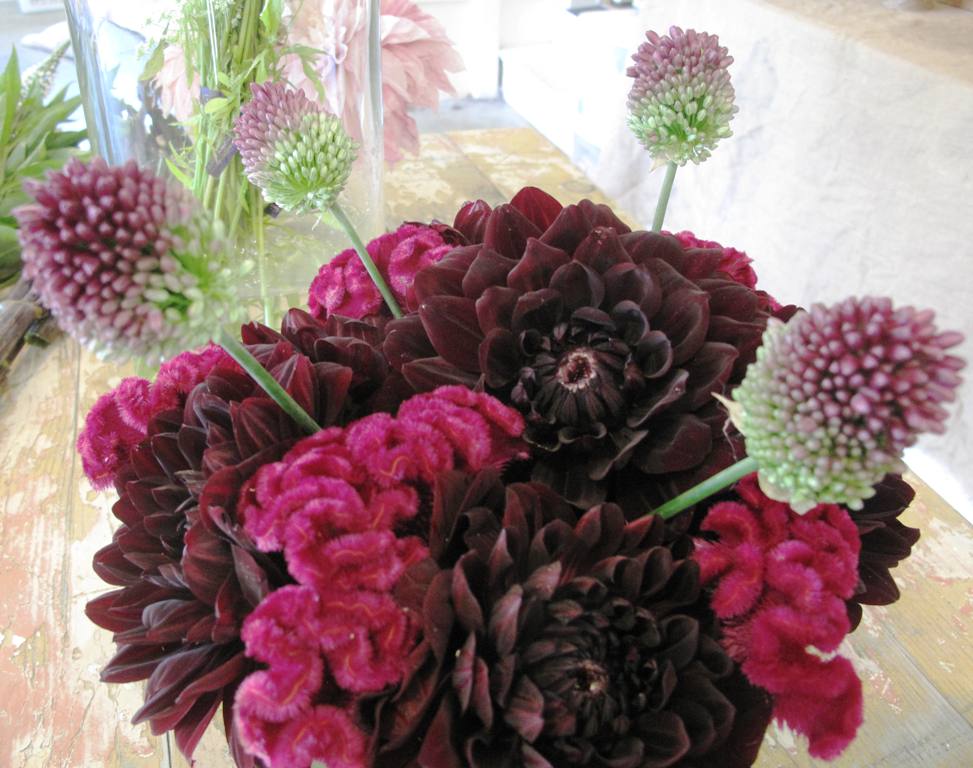
Step Three: Insert four drumstick alliums for graphic punctuation. 


Adding Queen Anne's Lace

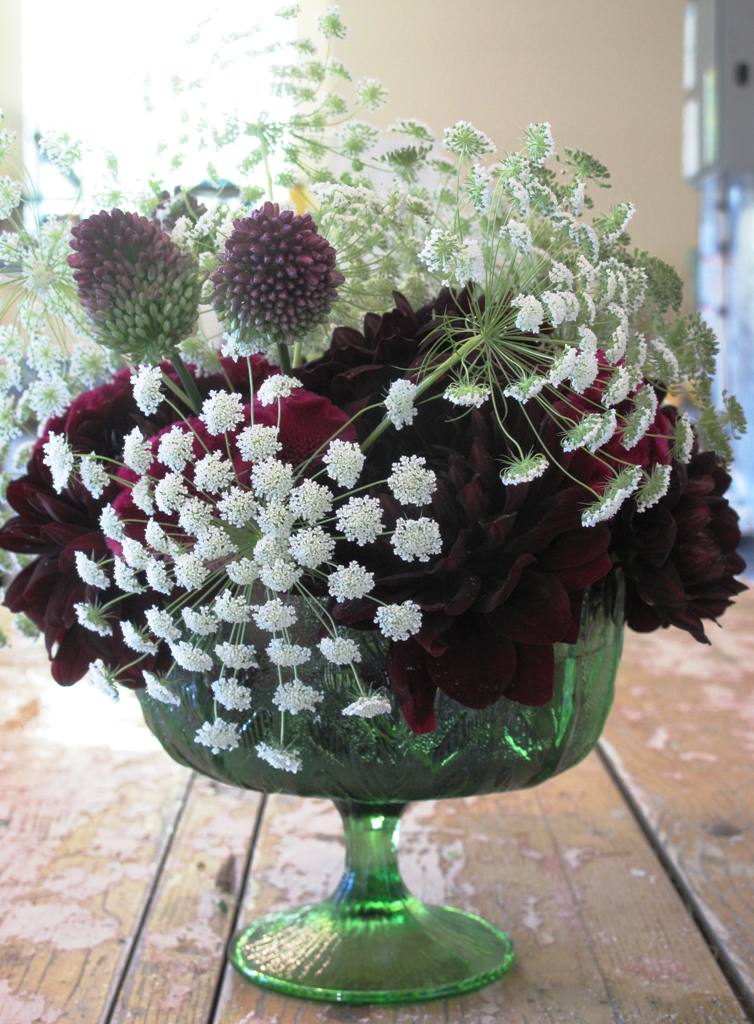
Step Four: Add Queen Anne’s Lace stems so they hover above the darker base of flowers. 


Green Final

Step Five: Finish off the bouquet with a few stems of gooseneck loosestrife (Lysimachia clethroides), a quirky accent that repeats the white from the QA Lace and brings a new texture into the design.

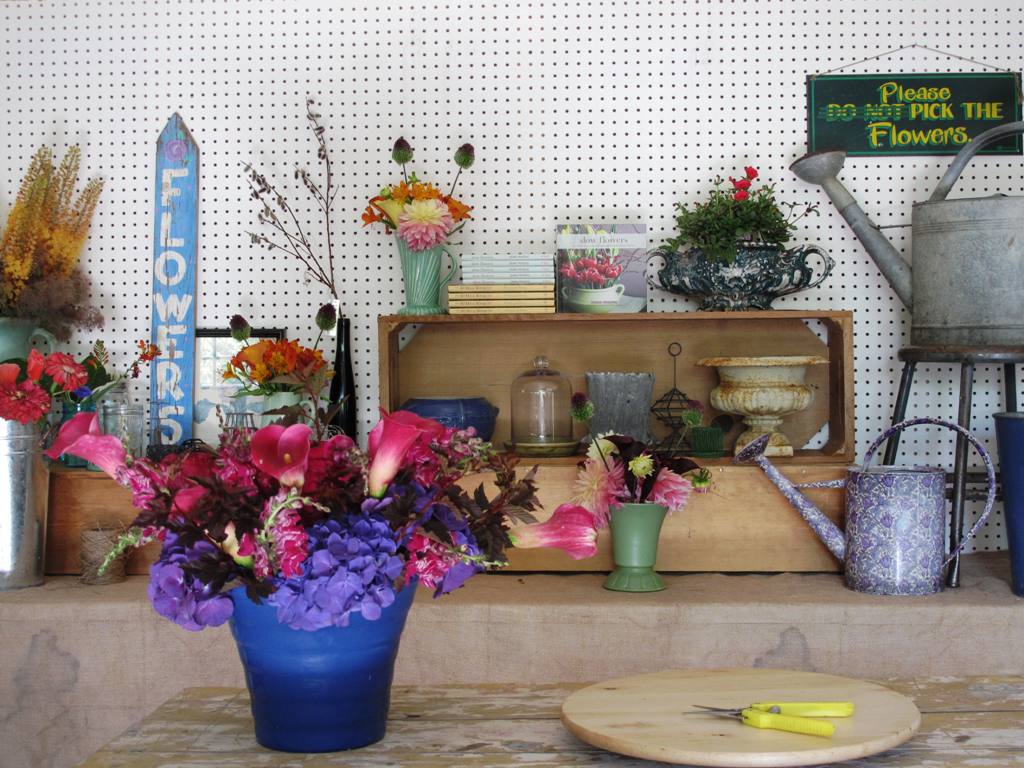
Here how I filled the pale pink frosted vase: 

Pink Vase Starting Off

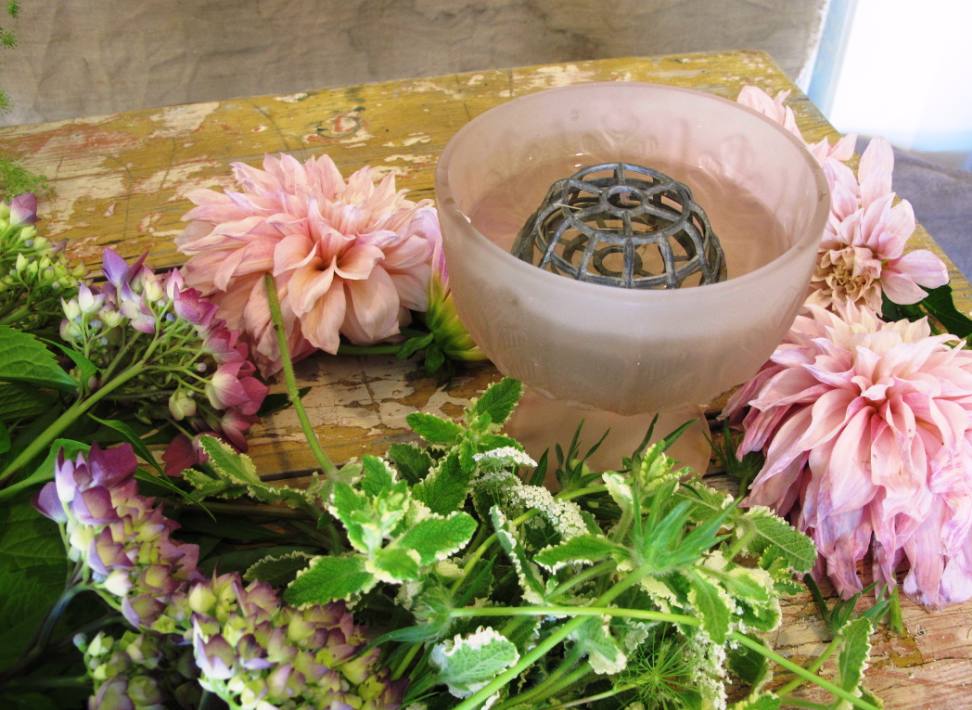
Getting started. If you compare this photo with the one at the top of this post you’ll see that I switched the frog. The original pin frog I planned on using wasn’t allowing me to insert stems at an angle or sideways, so I replaced it with a metal cage-style frog. 


Pink Final

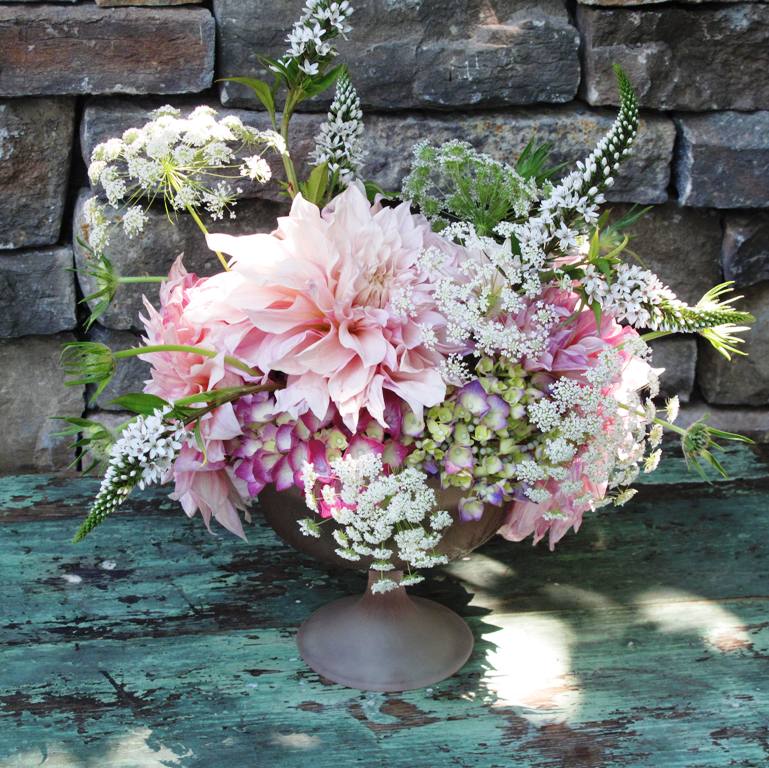
This bouquet came together in much the same way as the first one, so I didn’t photograph all the steps in detail. Notice that I started with a cluster of unopened hydrangea heads, which created a “base” that supports the three ‘Cafe au Lait’ dahlias, making them more prominent. Other ingredients include Queen Anne’s Lace, Scabiosa buds, and the gooseneck loosetrife. Even though similar ingredients are repeated from the first bouquet, this color palette gives it a totally different look and feel. 


Pink Detail

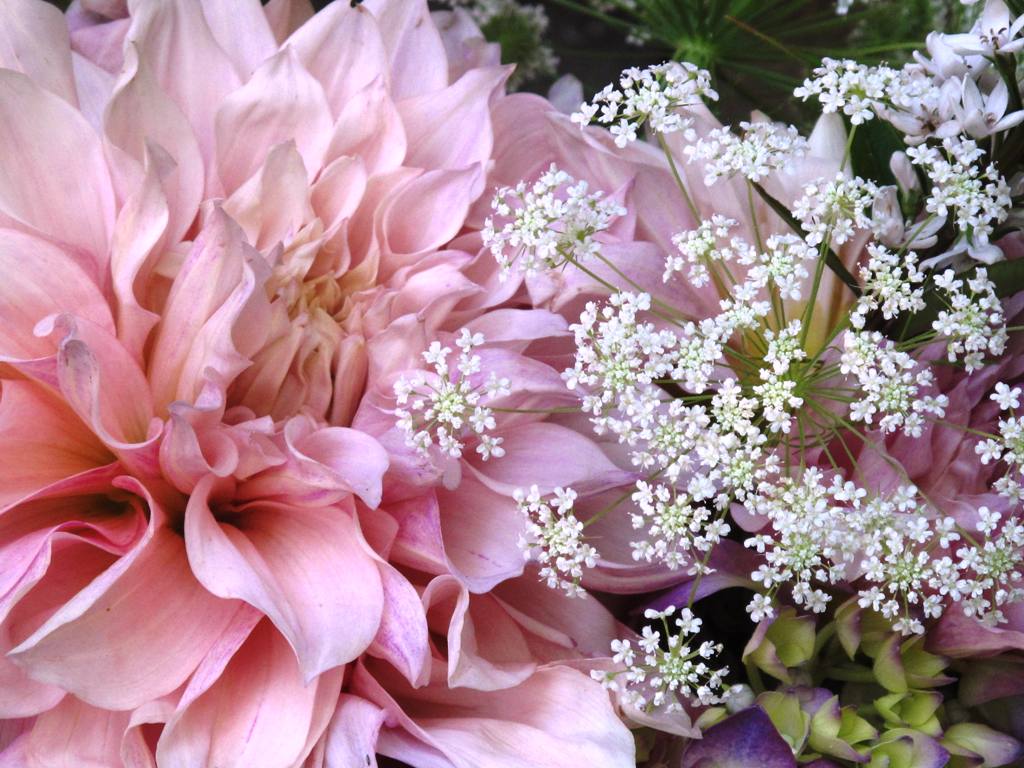
A final grace note, showcasing the delicate beauty of the dahlia and Queen Anne’s Lace.


New Floral Video & Photography Set

Tuesday, July 9th, 2013

I’m very excited to show off the backdrop that I recently created for DIY floral video projects.

If you look closely, you’ll see some of my favorite things gathered on the garage workbench. Vintage ceramic vases and metal urns, French flower buckets, frogs of all types, Mason jars, botanical artwork, salvaged goodies and more.

Flower Set

A floral designer’s work bench – and perfect video set.

Here’s another view – with the weathered picnic table in front – the ideal surface for bouquet-making.

Flower Set 2

Another view, featuring the weathered picnic table in the foreground.

How on earth am I pulling this off? Making a video, I mean!

I am fortunate to have a young filmmaker here for the day. Her name is Hannah Holtgeerts and she is a college friend of my son Ben’s. Hannah jumped into this project with total enthusiasm. A talented photographer, videographer and documentary filmmaker, she really makes things look effortless. Aaah, YOUTH, CHARM AND TALENT~ Too bad that Hannah is heading back to Chicago where a post-college job awaits her this fall. But for now, I’m thanking my lucky stars. The video will be pulled together soon and I promise to share it here~

Hannah Holtgeerts

Hannah Holtgeerts – at work editing the video we shot this morning.

Hannah

Looking over Hannah’s shoulder. What a pro!


SLOW FLOWERS: Week 23

Sunday, June 9th, 2013

A Bit of Purple Heaven

All shades of purple

A wistful arrangement of blue, purple and plum flowers looks awesome in a chartreuse vase.

Ingredients:

flower detail

The little “dancing” bottlebrushes are called burnet, or Sanguisorba menziesii.

5 stems dark purple lilacs (Syringa vulgaris), grown by Sunshine Crafts and Flowers

7 stems blue perennial bachelor buttons (Centaurea cyanus), grown by Sunshine Crafts and Flowers
7 stems reddish-pink ‘Nora Barlow’ columbine (Aquilegia hybrid), grown by Sunshine Crafts and Flowers
5 stems purple ornamental alliums, grown by Jello Mold Farm
20 stems burnet (Sanguisorba menziesii), grown by Jello Mold Farm
Vase:
11-inch tall x 5½-inch citron-green crackle glaze vase
Eco-technique
Traveling with flowers: I can’t resist taking flowers with me or bringing them home. If it’s a car trip, place flowers in a stable bucket with just a few inches of water to hydrate the stems (but avoid splashing). Store on the shady side of the car. If you’re traveling by air, wrap the stems in wet paper, cover with a plastic bag and then wrap the entire bunch in kraft paper that extends above the blooms. As soon as you arrive at your destination, re-cut all the
stems, place in fresh water and possibly a refrigerator. I’ve been known to use a hotel wastebasket and mini-bar fridge for this step!

Coming to Southern California

Friday, April 5th, 2013

SLOW FLOWERS: Weeks 8 and 9

Sunday, March 3rd, 2013

Been busy here . . . in the midst of Flower & Garden Show season, so I missed last week’s bouquet. Let’s play catch up and here, I’ll feature Week 8 and Week 9:

 “JUST ADD LIME”

Oh how I love this combination of everyday garden blooms, including daffodils, forsythia and euphorbia - with a few sprigs of variegated geranium for contrast.

Oh how I love this combination of everyday garden blooms, including daffodils, forsythia and euphorbia – with a few sprigs of variegated geranium for contrast.

The spring green color of new growth is indescribably beautiful.

The spring green color of new growth is indescribably beautiful.

Ingredients:
All ingredients were harvested from my Seattle garden:
  • 5 stems donkey tail spurge (Euphorbia myrsinites)
  • 3 stems Euphorbia characias
  • 5 stems variegated rose mint scented geranium (Pelargonium Graveolens Group ‘Variegata’)
  • 7 stems forsythia branches (Forsythia x intermedia)
  • 7 stems daffodils (Narcissus sp.), unknown cultivars
Vase:
5¾-inch tall x 5-inch diameter glazed ceramic vase
From the Farmer
Working with euphorbia: Most plants in the spurge family produce a milky-white substance when cut. It can be irritating to the skin, so be sure to wear gloves when handling the plant. While harvesting, I place the stems in a bucket of water, separating them from any other cut ingredients. Then I bring them into my kitchen where I dunk the tip of each euphorbia stem into a bowl filled with boiling water from the teakettle. This seals the stems.  Some experts recommend searing the tips in a stove top flame, but that has proven too messy for my liking.

“HEADY HYACINTH”

A simple length of linen twine gathers these garden hyacinths. They practically arrange themselves!

A simple length of linen twine gathers these garden hyacinths. They practically arrange themselves!

Ingredients:

8 stems hyacinths (Hyacinthus orientalis), grown by Alm Hill Gardens

Vase:
7-inch tall x 7-inch square glass cube
Detail of the gathered bouquet

Detail of the gathered bouquet

Seasonal Choices

About those long stems: The typical garden hyacinth blooms on a relatively short stem – maybe 4-5 inches at the most. This limits the way hyacinths can be used in floral arrangements. According to Gretchen Hoyt, the way to stretch those stems is to trick them into wanting more light. “The longer you can deny them light, the more they stretch,” she explains. At the commercial flower farm, this process begins in dark coolers where bulbs are pre-chilled. When they are transferred to the greenhouse, the hyacinth crates are placed (in the shadows) beneath tables where tulips grow. If Gretchen wants to elongate those stems even further, “I’ll throw newspaper over them,” she says. Leaving bulbs on the stems is optional, but some designers do so to give the arrangement a rustic appearance.